Wednesday, December 4, 2013

Shabby Chic Coat Rack Makeover


Just before we moved to Madison, WI, I made a coat rack from 2 planks of wood, which I glue together, then screwed together, painted it a darkish green color then distressed it a little. Then on one of my many shopping trips to Hobby Lobby, I found some wonderful Cast Iron Hooks.

This is what it looked like before.
Not great but okay.

I REALLY don't like the ugly fugly, brown one underneath, but I can't take it off. I think the student housing must have used industrial strength to stick it to the wall as well as screws. So now with the winter here and our coats new place of residence, you can't see much of that brown one - yeah!

This is what I did to make over the green color.
First I, unscrewed the hooks, then lightly sanded over the wood, to take off the finishing wax.


I have wanted to try my hand at the crackling paint technique, but I didn't want to have to buy the special paint to do so. Then I remembered - Elmer's glue :)

Then using Elmer's Glue I painted all over the wood ( oops forgot that picture) Leave to dry, but only until it is TACKY.


Then using white paint, I Loaded my brush and painted over the tacky glue, in one direction -
Don't go back over what you've painted. Just keep painting till you have covered the wood.
Don't worry if in some parts the paint is thicker than others, you're going for a distressed look.


Then watch in awe, as within 5 minutes see the paint crack !


Now I did use a scraper after the paint had completely dried, just to scrape off little bits of paint here and there.

Screw you hooks back in place and then I hung the coat rack back up.


Now I love how it looks, the Cast Iron Hooks, really pop!

My Shabby Chic Coat Rack Makeover.


Ah...much better, don't you think.
I know I do!


Read more >>

Rustic Wood Christmas Door Sign


Nadolig Llawen - Merry Christmas

For those who don't speak Welsh, Nadolig Llawen means, Merry Christmas.

I wanted something different for my front door this year, not the usual wreath, don't get me wrong, I love wreath's, but it was time for a change and a quick one at that. 


I started with, heat treated wood, I purchased from Ace Hardware. The wood actually came in a large bundle of firewood. (Made by the Amish)

Then using Elmers Glue or store brand White Glue,  spread it over the wood and leave until it's tacky.


Then once it's tacky, load your brush up with white paint, and in long strokes, brush on the paint. Don't go back over what you just did. You will see within minutes, the cracking effect takes place.


Continue until the wood has had the 1st coat. Leave to dry and continue the same process, glue then, paint, till you have the desired effect.

I forgot to take the final picture. But in the picture below you can see the color.

 I  traced the words using chalk onto the wood, then paint over letters, in Red.
Then did a quick and simple snowflake design.

Then predrilled holes to hang it from.

I love the misshaped wood.


Then using White Glue & Glitter, trace over the snowflake and Christmas Trees.


I did light blobs on the tree, to make it look like snow had fallen on the branches.


Sprinkle the Glitter all over the glue and leave to completely dry, then tap off any loose glitter.

Add some wired 'S' from craft wire and thread through the holes and then using chain link 
Attach the 2 signs together. Add a Burlap bow and your good to hang your new quick Rustic sign up.


Rustic Christmas Christmas Sign


Read more >>

Tuesday, December 3, 2013

I'm Washing Dishes Mam.

How do you keep a screeching crying Lil tinker, named Carys who wants your undivided attention. While your
Occupied cleaning up after dinner.


Grab a chair and fill the sink next to you with cool water and bubbles, give her the bottle brush and plastic cups...and Woo-hoo....

Instant happiness :-)


Bubbles!


And eating clean bubbles and getting completely soaked through.
Much better than me getting frustrated and Carys with icky slobbering nose and uncontrollable crying.


Ooooo..... Water!


Just Adorable x
Read more >>

What's The Weather Like Today?


In Madison, the weather was very very foggy!
While driving Seren to music class, she kept saying...."OooooOoooooo scary clouds." How adorable. But it did give nature quite the hazy and chilly feel.
You just gotta love nature.


What was the weather like in your area?
Read more >>

Sunday, December 1, 2013

Blackberry & Apple Crumble In Mason Jars.


Growing up, we had a huge blackberry bush at the end of our back garden. I can't recall how many times  when the blackberries were in season, I'd walk down the garden path and pick, beautiful  big, ripe and juicy blackberries off and eat as many as I could... Yep, eat right away, I know...Yuk! What about bugs and washing them, well if I did eat a bug, then it didn't do me any harm, although, I don't ever recall eating any. Plus my mother never used any sort of bug spray or chemicals on the blackberry bush, so I didn't have to worry about any of that.

Just eating them.

I do love Blackberries and when our blackberry bush was overflowing with blackberries, my mother would give us big bowls and send us out to ..'Get picking', so we could make jam and delicious blackberry crumble.

So with my new love of  what you can do with 'Mason Jars' at the moment, I decided to make so single serving blackberry crumble in mason jars. 

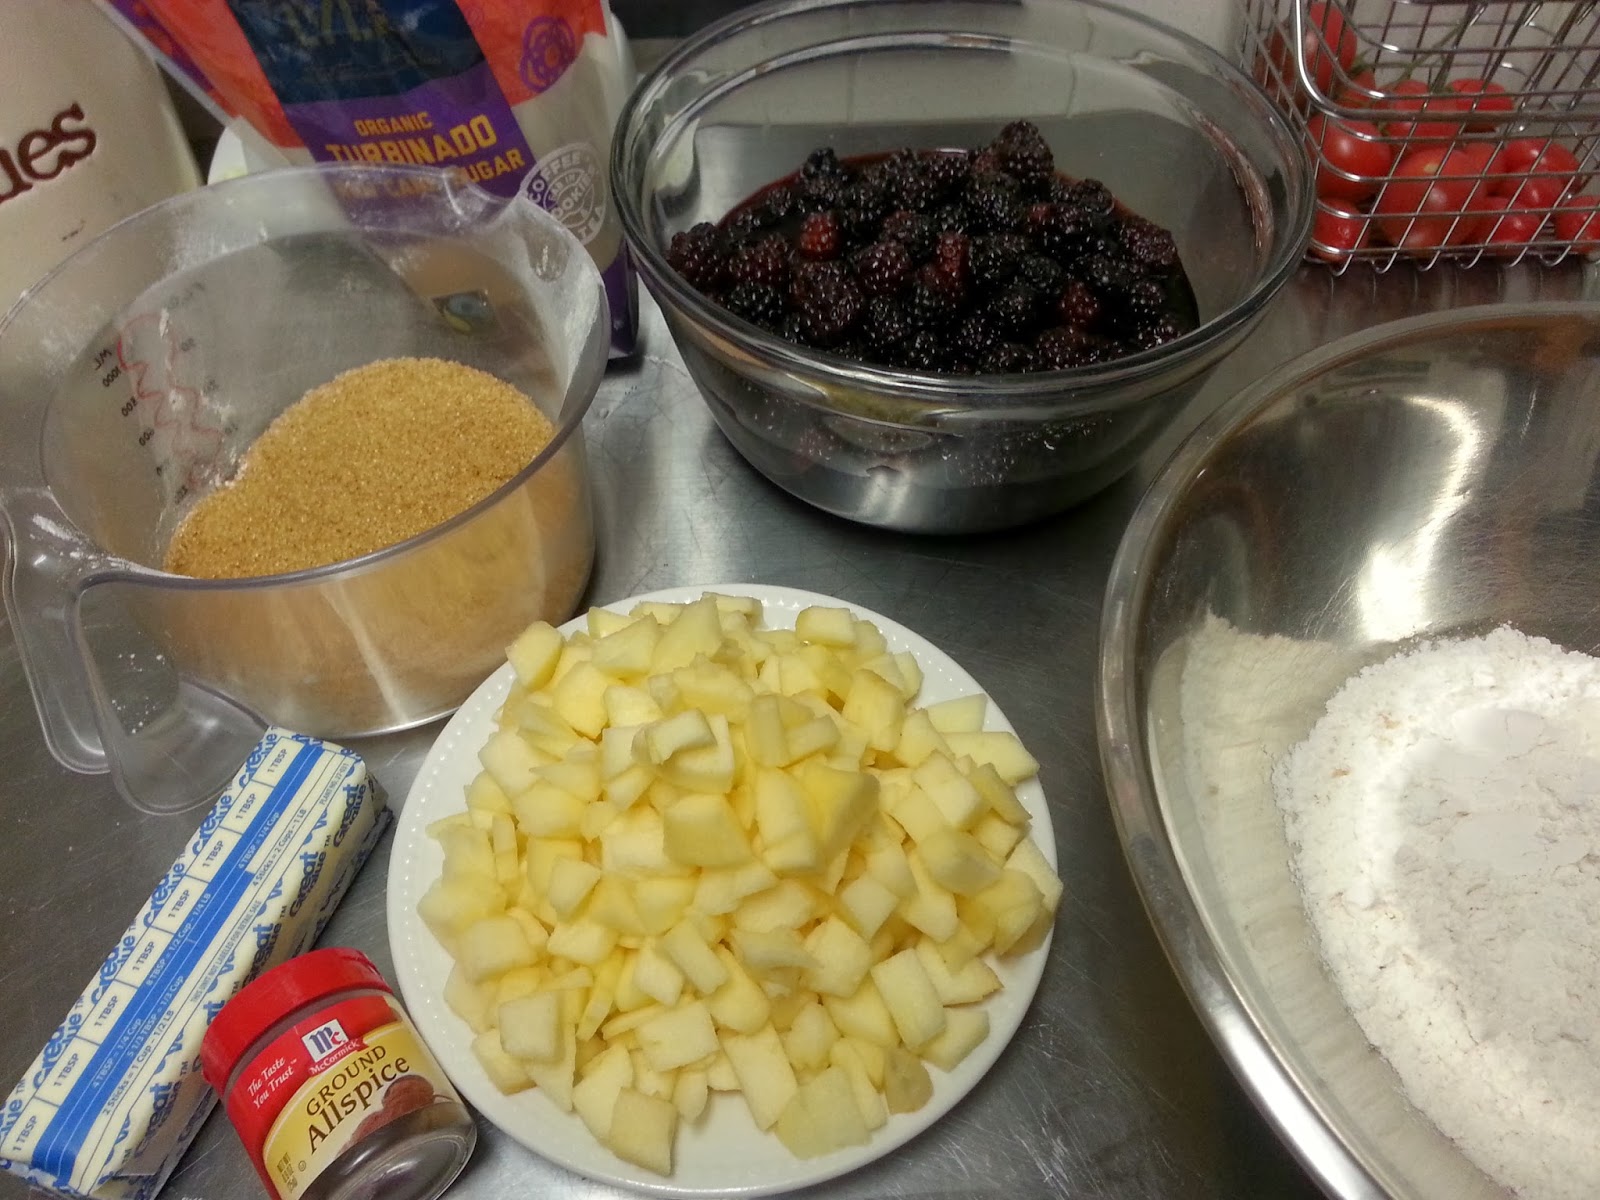
Here's what you'll need to make
Blackberry Crumble


6 cups Blackberries
(Pre washed and soaked in a little sugar, to get some of the juices to seep out)
 3 Braeburn Apples peeled & chopped
2/3 cup Brown Sugar
2 cups Flour
1/4 tsp All Spice
1 cup Butter
Whipped Heavy Cream for topping
Or pouring cream.
4 smaller mason Jars.

Oven temp 425 deg.


Grate the cold stick of butter into the flour. Until it resembles fine breadcrumbs
(Grating the cold butter makes it easier and quicker to mix into the flour)


Add the sugar and mix well.


Add the allspice.


Divide blackberries and apple into the mason jars, make sure you get some of that yummy blackberry juice in there too.


Sprinkle a large spoonful of sugar, between  2 of the jars, then do the same for the rest.


Spoon over the crumble mixture on top of the fruit.


I only filled 4 mason jars, the rest I made a large dish of Blackberry Crumble.


Pop the crumbles in the preheated oven and bake for 35- 40 minutes until the crumble top is golden brown and the blackberry juice bubbles over. Once they're cooked take out and cool for 5 mins, then serve warm with freshly whipped heavy cream or serving cream
 And 
Enjoy the yummy deliciousness of the mixture of tart and sweetness of 

Blackberry & Apple Crumble


Or maybe wrap the single serving of Blackberry Crumble, up in Christmas fabric and with some fresh whipped cream and give as a gift.

Mmmm.... So Delicious!


Read more >>

Popular Posts