


So, I was at my FAV craft store -- Hobby Lobby the other day and
They had a cute jumping bunny for sale.
Being me, I snapped a pic and decided that I could make one.
And with the fabulous Burlap sacks I got from my friends Eric & Cassandra who own Crio Bru
(Thanks you guys!)
I had my free fabric, well free burlap :)
And so, I got out my sewing machine and got to work.
I first made myself a pattern of a body and a ear and cut them out.


Then I laid the pattern onto the burlap and cut out 2 bodies and 4 ears


I wanted a contrasting color for the bunny's inside of its ear,
So I cut out 2 pieces of brightly colored fabric
and pinned it to the burlap ear

Then stitched them together.


Then taking the backside of the ear, I pinned them right sides together

And stitched -LEAVE a gap and the bottom. Flip them inside out


Now take the bunny body and stitch together.

Leave an opening on its belly for stuffing.


Bless my bunny, he looks fugly right now!
Like a skinned rat!
Stuff the bunny using any kind of craft stuffing.
Fill, his head first, that way you can gage where you want its ears to go.

Next add the ears on, by pinning in place, then stitching by hand.
(Neat tiny strong stitches)

LOVELY EARS!


Time to finish stuffing your bunny.
Take some twine and again using your best stitching-- close your bunny's belly up :)

Seren was ready by this stage to claim BUNNY all to herself!!
But I told her it needed eyes and a tail first, so she settled of a quick picture. With a promise to give the bunny back as soon as I was finished!!
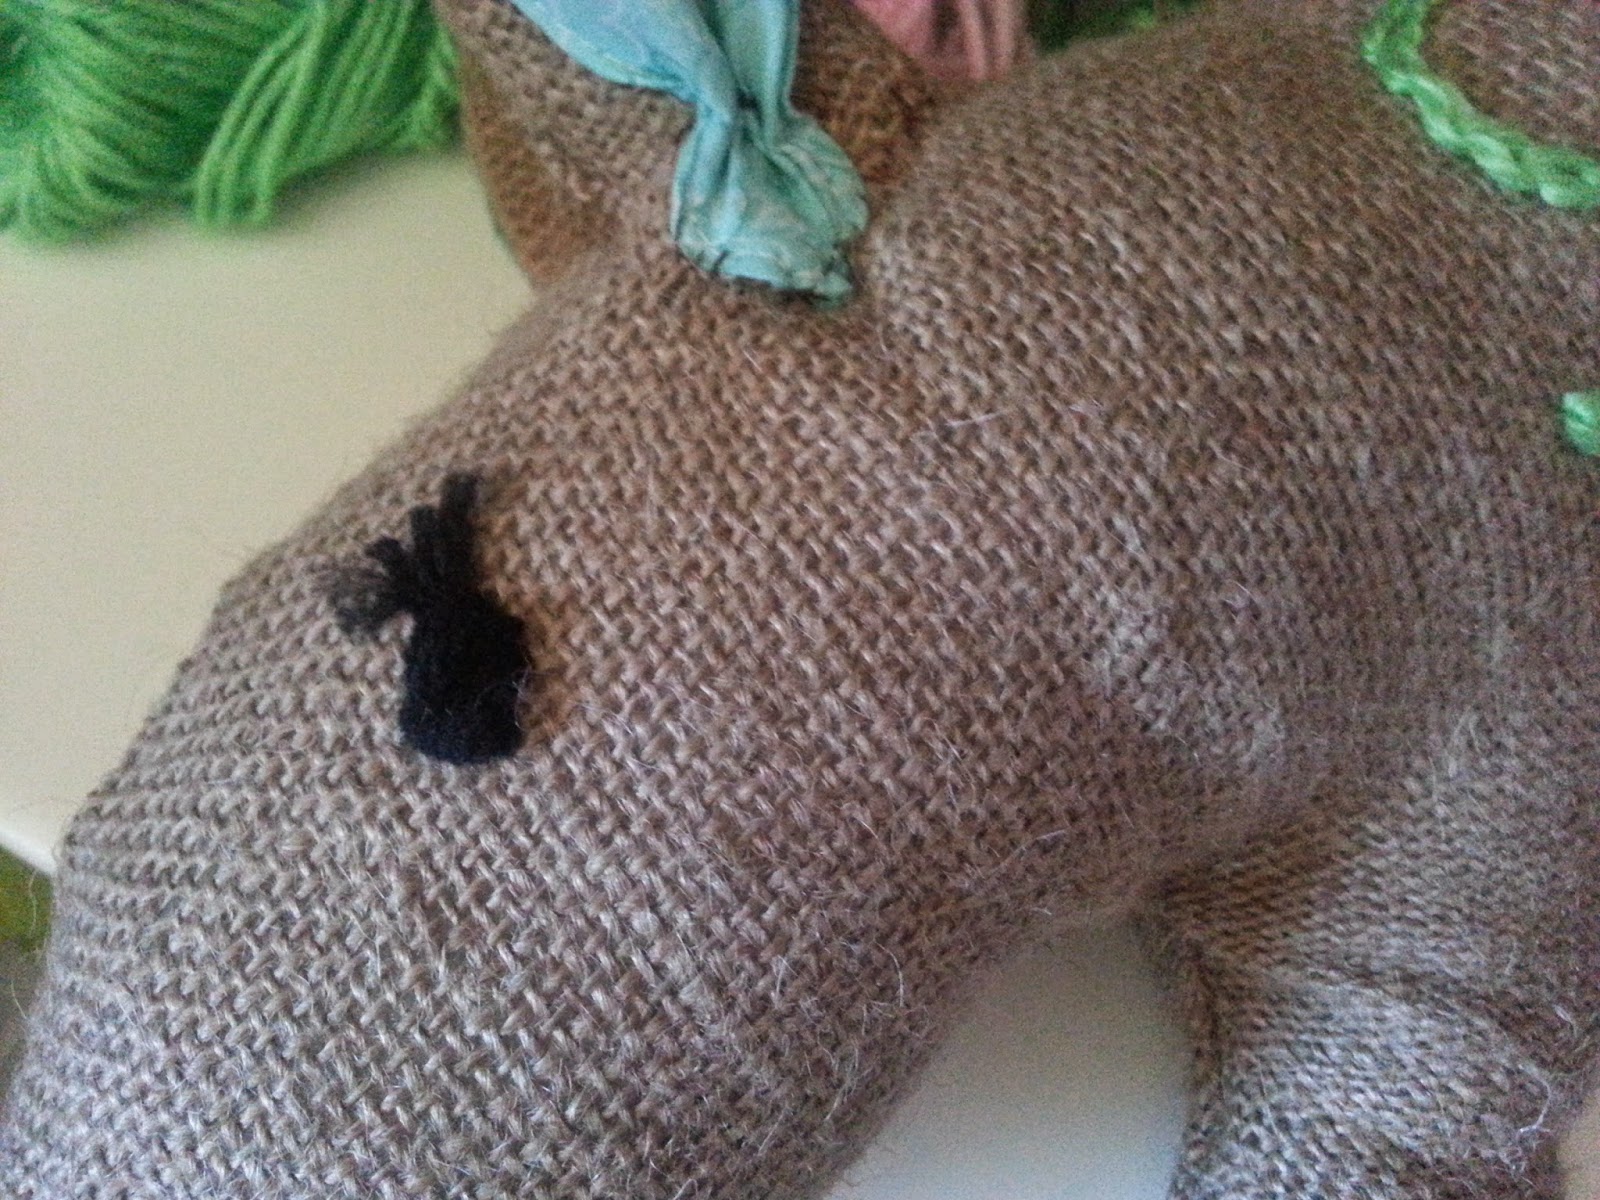
I used black wool for its eyes

I used green wool and chain stitched the word spring on to its body.

Adding a flower with a button for the dot on the I.


To make its tail, I used 2 types of wool, white and cream
& some twine.
I wound it around my fingers.


Once I had enough, I tied it off, then slipped it off my fingers.


Cut through the end that is NOT tied.
Trim the ends.
You have a tail!

Stitch the tail in place.

Using some pink wool I stitched its nose on.
And Viola!
All done!
Burlap Easter Jumping Bunny.

It sits really well on the back of our sofa or in Seren's case, her arms or her stroller!!


I added a bow, as Seren wanted her bunny to be a GIRL!!
and sew


.jpg)


