Friday, April 8, 2016

Happy Birthday Seren And Carys


This year Seren turned 6 and Carys turned 4 and the theme for their joint party

Princess - Pink Princess.

And let me say I think  I went overboard with the pink. Talk about  Pink explosion! 

I used plastic tablecloths from the dollar store and hung them over the windows, made banners and lots of balloons.

Although, it looked fabulous even I say so myself :)


See how I made the Tutu Cupcake Stand HERE


Table settings
Fit for a Princess or two or three or four :)


I made cupcakes for the girls.


Lots of yummy Sugary treats


Pink Princess Popcorn


Princess Pretzel Wands


More Princess paper wrappers


What it looked like before the Little Princess arrived!


PARTY TIME.

Musical Statues


Funny Face Time
This is my granddaughter, Paisley


Seren
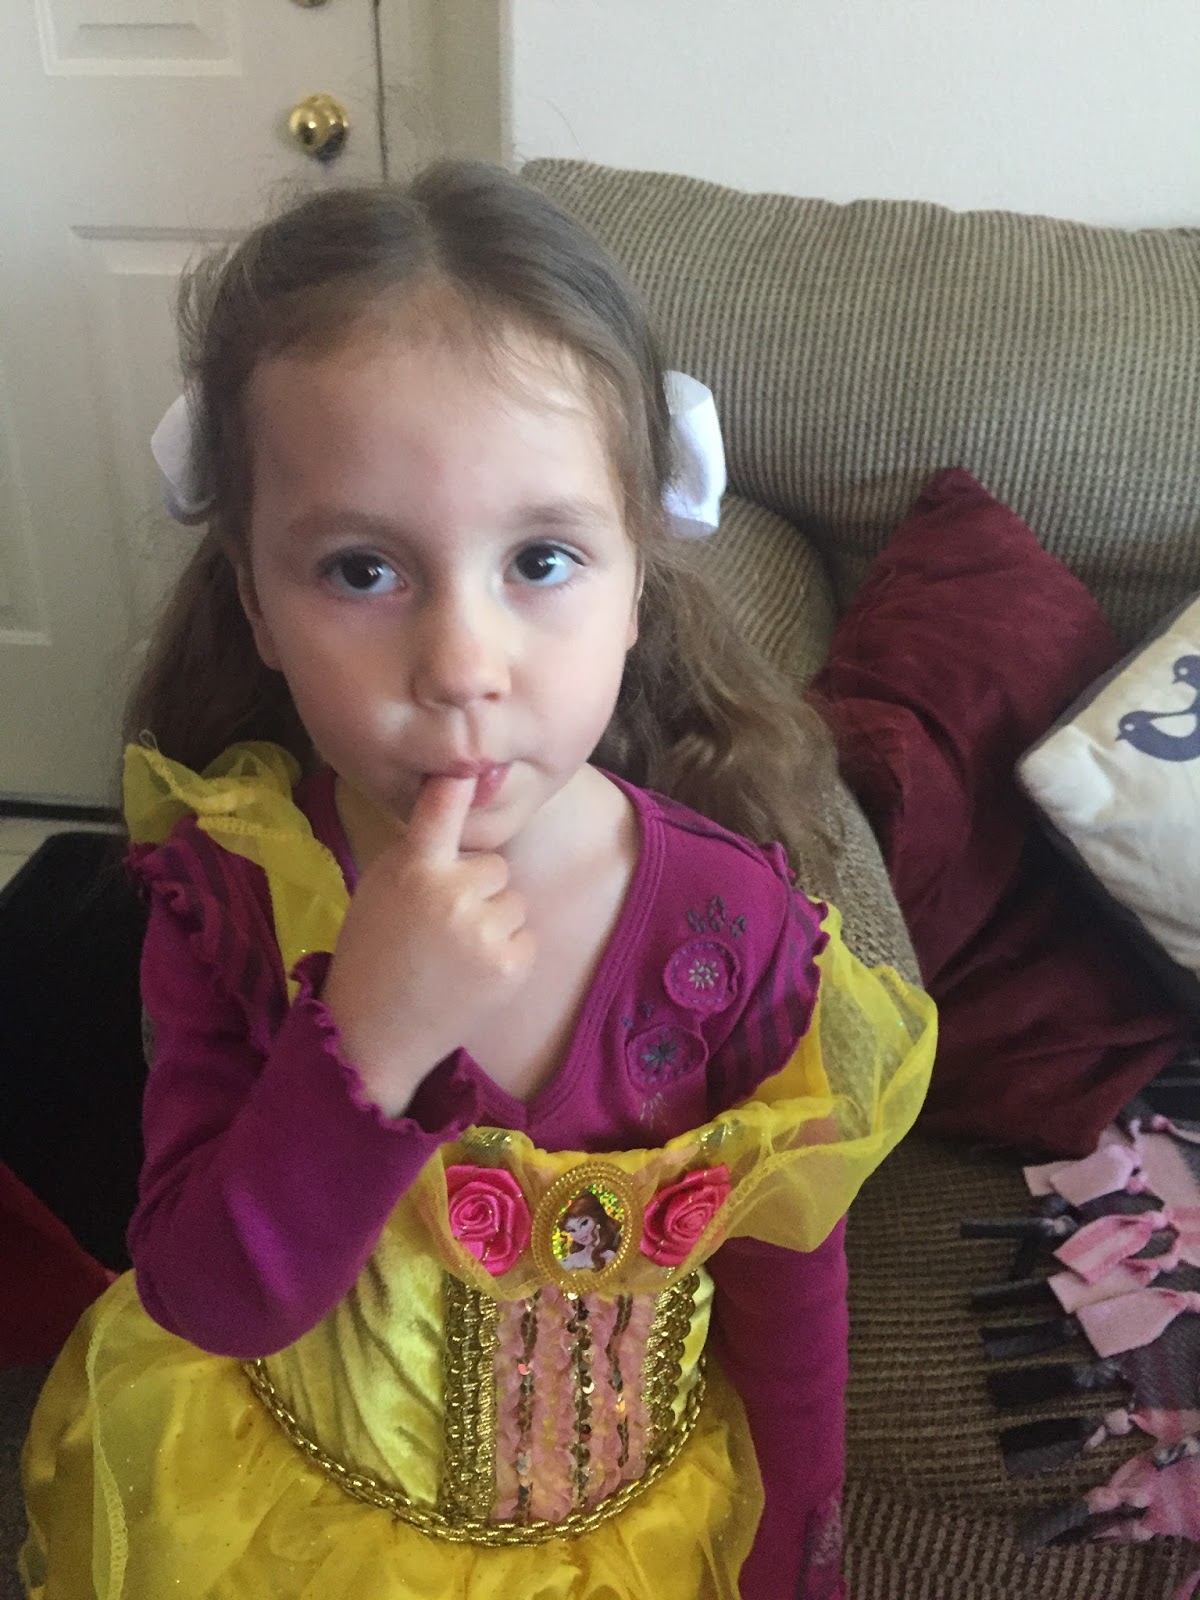

Carys


 Princess Photo Booth Time


Pass The Parcel


Happy Birthday to CARYS


Happy Birthday To SEREN


Here are all the Little Princess's in the Princess Photo Booth.
Click HERE to see how I made it.


Read more >>

Tutu For A Cupcake Stand


To follow the Princess Theme for the girl's birthday's in March
 - I decided to make a Tutu for a cupcake stand.

Easy Peasy Lemon Squeezy to make - just takes time.


Buy stretchy hairband fabric, wrap around the size of stand you want to use.
Cut and stitch the ends together to make a circle.


Tulle.
Then cut into strips. I did  2" wide strips x the length from the top of the stand to the bottom of it. Make sure you double it as you'll tie it on


Pop your stretchy band around the stand and begin adding the tulle.
I used three different colors.
Pink of course to match Princess Theme


Here is the one finished that I'll use for the gift bags to sit on


And this larger stand is for the cupcakes.


The Finished Tutu Covered Cupcake Stands


Pretty in Pink 
Read more >>

Princess Castle Photo Booth


With both daughters having birthdays in March it thought a Princess Theme would be great.
 Then my aging grey cells got a churning and I came up with making a Princess Castle out of...guess what.... Cardboard Moving Boxes, Poster board, Craft Paper, glue and the good old duck tape.


Start with a LARGE moving box


Cut in half


Then using Poster Board I strengthened the inside before sticking both halves of the moving box back together.

I used a Medium Moving box, cut into 4 and made a tower shape.
I used more poster board on the backside for stability.


Using one poster board make a fancy top. for the main castle


And a simple triangle for the Tower roof.


Duck Tape works wonders, don't you agree :)

I cut out a heart window


Made some simple cardboard stands from the cut off cardboard.


Glue the front


Cover with craft paper - trim all the edges


Let it dry over night.


Then came painting day.

The girls, had to help, it was for their birthday party after all!


And the final product!

I painted it to look like a castle, added glitter
 (which I'm still finding in the nook and cranny's of our home)
I glued on green leaves, flowers and butterflies I picked up from the dollar store
Then from Michael's I picked up clip on Butterflies to add the final touch.


Read more >>

Our New Home


Last October, Jason, I and the girls went to visit a model home in West Jordan, Utah.

Built by Holmes Homes 
(the landing page of their site has a slide of homes - one of which is for Bluffdale. That pic is the one from the model home I fell in love with the model type is called Hannah)

I'd already fallen in love with the pictures of it and now was the time to see it in the flesh -- or more like, bricks and mortar! Lol

No sooner as we walked through the garage into the kitchen -- AHH! Angels singing  moment. The kitchen was my dream one and I knew this was the house for us. 

That same day we signed with Holmes Homes - see the virtual tour of the exact home were having built HERE for our home to be built in Bluffdale, Utah. 

It should have been built by now but as we all know....! Building permits, Design meetings to pick our colors and everything else that goes into turning wood and nails into a home, plus delayed/missed meetings later, things begun to move and boy once they get started things move along pretty quickly.

Anyways...here are some pictures of the beginnings 
Second week of March.


Footings poured.


Amazing that this gaping hole will be our garage.


One week later the dirt had been filled back in. 
This picture is the view from the back of our home.


The following week which was last Sat 2nd April
The garage is up


The beams that will be the ceiling of the basement and floor of the main floor.


And one week from the last picture
Here is  how our home looks today
Friday, April 8th 2016

It's beginning to look like a home :)


The North side of our home


Front of the house faces West.


Inside the main Floor

The Kitchen/ Dining Area


Stairs to second floor. No roof yet but I'm guessing it will be up by end of next week!


Upstairs. Don't look like much but I can see where each room will be :)


The Basement

The Basement Stairs


The View of the back of our home from the corner of our property


Read more >>

Popular Posts