Tuesday, August 6, 2013

Repurpose The Girls Old Crib


Easy Kids Bookcase


Made from an old drop down side crib.


Carys has transitioned to a  toddler bed, so I was left with her old now not recommend to use drop down side crib!

WHAT TO DO WITH IT? 
In total I made three different pieces. Will post the other two soon.

THIS IS THIS IS THE FIRST PIECE I MADE.


So first I cut off every other rung, using a cheap jigsaw from, Walmart, leaving it just the right  sized gaps I wanted.


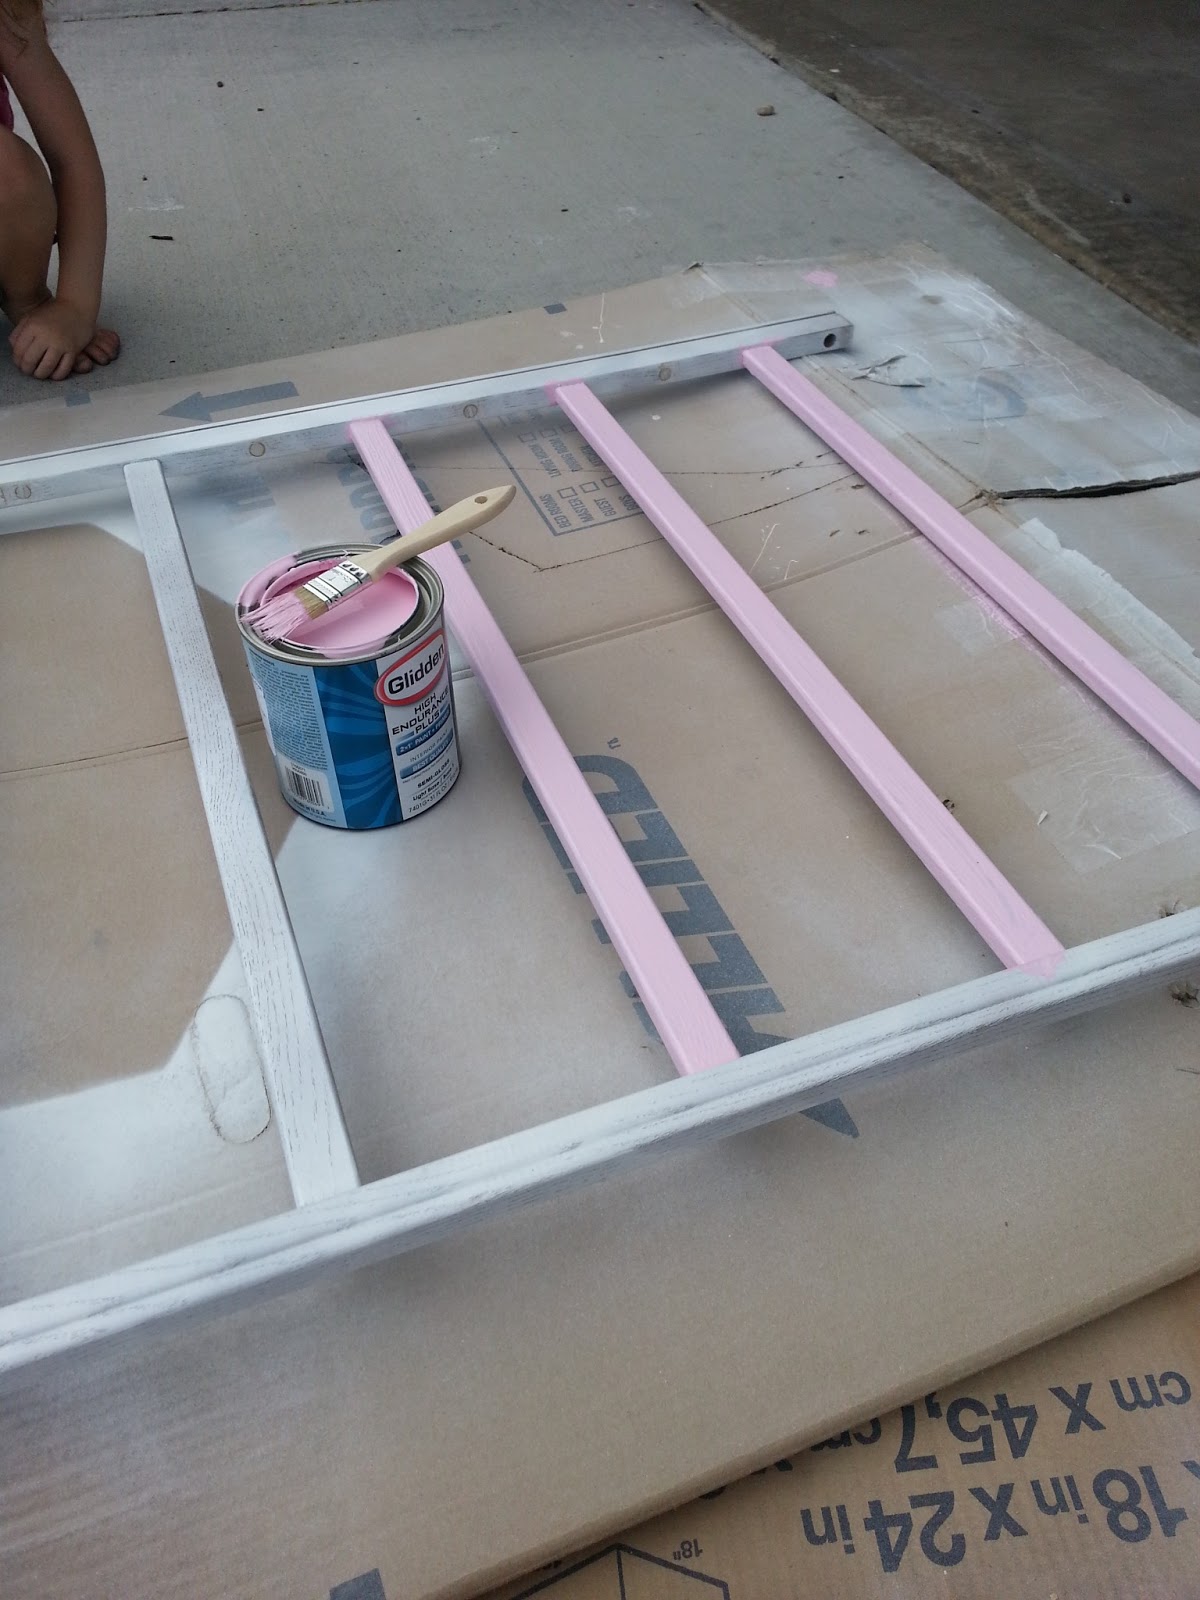
 Next I used the tried and tested and love Krylon Primer & Paint in white, let it dry. I Also did the same for a shelf I had lying around. Then once dried I painted it with Bubblegum pink :) Both crib sides & shelf took TWO coats.


 On the left is the final color. Next I sewed the fabric (Walmart deal, $2 a yard), right side together. Next I started to work out the lengths I needed so the books would sit neatly and not fall out.
( I did this by using the girls' books)


 Next I pinned where I wanted to sew the Velcro. The middle picture, you can see I had plenty of fabric left. I used soft easy sew on Velcro. The picture below shows where I had marked with pins, were the Velcro was to go. This took the longest to do. Between stopping to play with the girls or stopping Carys pull out the plug, stopping me in mid sewing !! Lol


 Then I fitted the finished fabric with Velcro to the crib frame, used scraps of leftover material and tied them on, like a rag garland.


Here you can see how the book sits on the fabric, with the added cuddly toys, thanks to Seren :) The picture below I added the painted shelf, just so you can see the finished project. When we move I will post a picture of it in the girls new bedroom all fixed to the wall.

HERE IS THE FINISHED REPURPOSED CRIB
 NOW A KIDS BOOK HOLDER.


Read more >>

Saturday, August 3, 2013

Happy 13th Birthday Ashton.

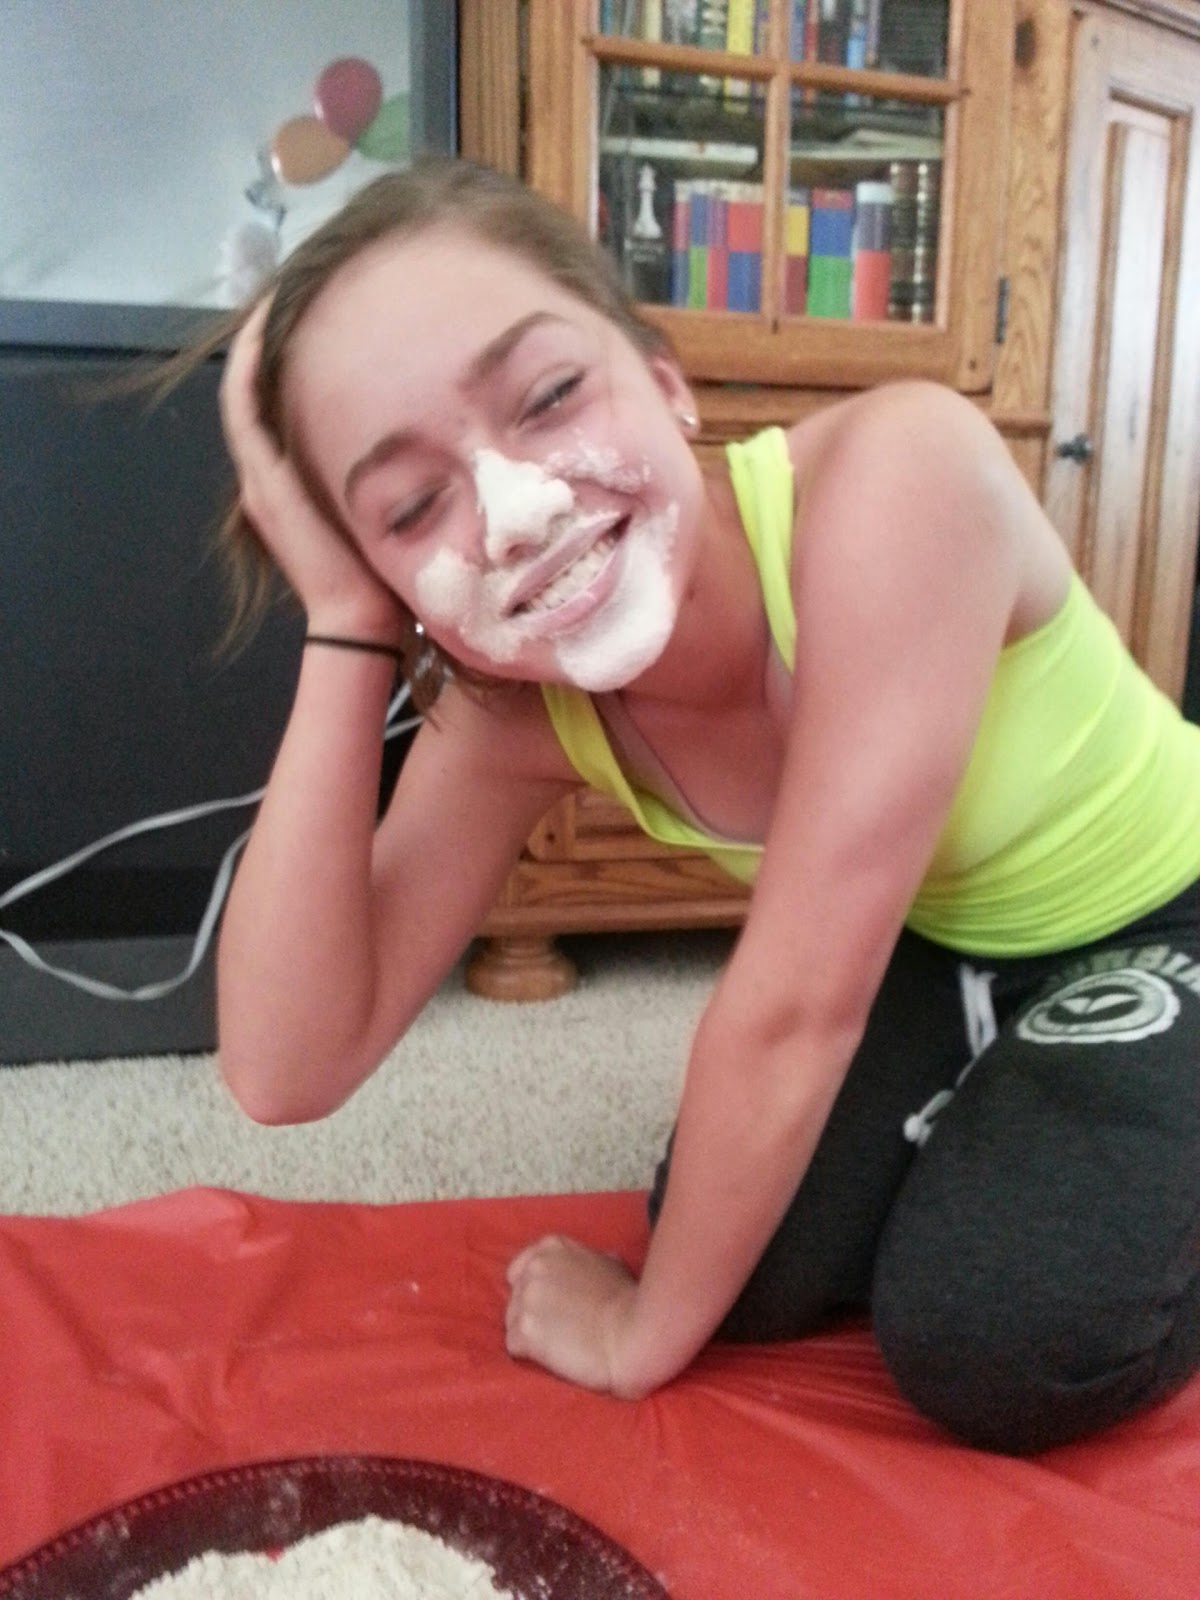
It was my daughters 13th birthday and today she had her party. Her friends Megan and Jessica came. Seren wanted to join in the fun..lol she insisted she played the flour game too.
Read more >>

Friday, August 2, 2013

Happy Birthday Daddy!

It was Jason's birthday yesterday and the girls got to ahare in a chocolate breakfast with daddy!
Carys' s first taste of peanut butter cups lol ....mmmmmm yum yummy :-)
And seren helped blow out the candles xxx
Read more >>

Saturday, July 27, 2013

Carys eating fry sauce

Went to sizzler with Jason and our girls, Seren and Carys..and both loved their fries and chicken strips, but most of all Carys loved eating the fry sauce from the pot...lol


Read more >>

Tuesday, July 23, 2013

Sisters x

At the park with Seren, Carys and their big sister Ashton. Ashton flew into town last night, from Wales...its wonderful having her here for 3 weeks :-)
Carys were showing how brave she was, by going down the slide by herself ! And not wanting to be shown up, Seren had to keep up with her little sister.. lol


Read more >>

Sunday, July 14, 2013

Big Brother Bradley


BRAD & CARYS.


Carys endlessly tries to get hold of, Brads iPad and cell phone. It's quite funny to watch, everytime Brads gets up, Carys makes a beeline for his stuff......You just got to see it..makes me laugh everytime xx


Read more >>

Big shoes to fill.....

WHAT BIG SHOES TO FILL, CARYS.


Carys loves to try an wear her daddy's shoes...lol
How darling x

Read more >>

Shabby Chic Side Table Makeover


Lately I am on a revamp roll. I have just finished another painting revamp. Under each of the pictures, I will post the instructions. The only thing left I have to do is give my side round table a coat of sealant.


So to start with I used Krylon white primer and paint . It took three coats over the black, with a gentle sanding in between each coat...again I forgot the before pic!! Duh me.


 After letting the base coats dry, I used Glidden Vanilla shake paint, from Walmart. It took two coats. I also gave the door knobs a light coat, using the same paint.


Now they do say many hands make light work!...lol Carys bless her little cotton socks, wanted to help sand :) The end picture is me at the end of 1 hour of sanding to make it look shabby. Carys lasted all of five minutes, then she decided, her toys were much more fun!!! Than mammy's project!


THE FINISHED PROJECT #2.


I used the serving tray I made, to take this picture. I liked how it looked, I am now going to make a smaller serving tray, for my round table. 
Read more >>

Tuesday, July 9, 2013

My first set of drums!

Trying to keep Carys occupied while preparing dinner. With her first set of drums.....kitchen style :-)
Mixing dishes make great..noisy drums with mams best used wooden spoons as her drum sticks.


Read more >>

Shabby Chic Tray


So my neighbor, Heather has a really nice tray sitting on her dining table, which I love. So I set out to make my own. Heather gave me a spare picture frame, to get started. Be prepared for many pictures of the progress. I have done this so if any of you feel that you want to give it go, then you have the instructions :) and not have to guess like me lol.

So what I'll do is post the picture and underneath, tell you what I did to achieve the results.


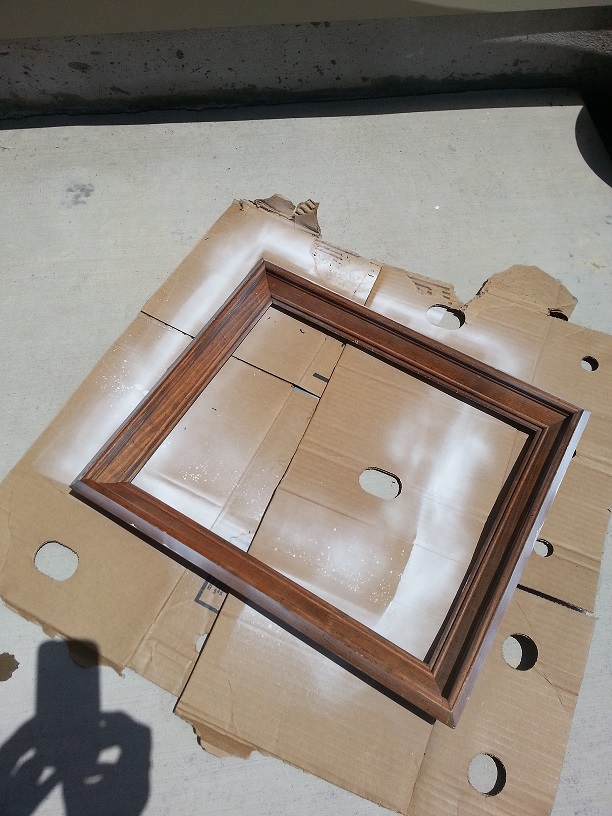
Here is the frame as is, brown and old! I used Krylon White Primer & Paint, Gave it 2 coats. And let it dry.


I wanted to use a natural stain, so I knew tea leaves worked on paper, so why not try wood. I used cedar wood.
Next while I waited for the frame to dry, I soaked the black tea bags (I used all of them) in hot water. I let them soak for the time it took for me to feed the girls and clean up lol (30 mins)
In the Picture on the right, you see I have wood lined up that I cut up into pieces earlier to fit into the frame. Oops I forgot to take a picture of that stage!!
 I then used the previously soaked tea leaves and painted the wood with them leave the leaves on. Then I set them outside to dry. In the picture below you can see the end result ( the lighter wood)


Now in the first picture you can see a jar, filled with something yucky!! Don't be alarmed, it's nothing untoward! Lol.
I wanted to take the route of an all natural wood stain, so I googled and found a great site on how to make your own natural stain.

And scroll down to where it says : Altering Wood: Tannins.

I used the vinegar and steel wool. I had done this 3 days before I wanted to make the tray, as the steel wool needs to react with the vinegar.

In the second picture you can see that when I applied to the steel wool/vinegar stain on    top of the tea stain, the wood turned a really dark brown, almost black!! I was wow, cool. I let it dry in the sun for about an hour. 


                                                         BACK TO THE FRAME!


Next I painted the frame with the same paint I used to re-vamp my side table in an earlier post. I let that dry, then came back and decided I wanted it to have more color, so I added some blue to a dish and add the original color, till I got the color I wanted. You can see the difference in color . Let it dry!


Okay, these next two pictures, are the next stage. The first was to seal the wood I treated with my natural stains. I used Polycrylic sealant spray. Gave them about three coats. Can you see how deep and lush the stained turned out!!! I'm so happy.
2nd picture, once the paint had dried, I took so steel wool and rubbed to get the shabby look.


Next I used, liquid nails to secure the wood to the frame, also using it between each plank of wood. 2nd pic i weighted it down while it dried.


1st pic, I didn't like that you could see the brown wood, so I gave it a lighter wash using the same paint, and let it dry.
2nd pic, time to finish the project. Take your drill, wood screws & your swanky looking handles, from Hobby Lobby, and set to work.


I measured both sides so they would be even, then predrilled the holes, then screwed the handles on!


                                            Here is the final project.
                               My Shabby Chic Tray!


Read more >>

Sunday, July 7, 2013

Picking flowers

Darling little Carys :-) picking and eating flowers.

Read more >>

Popular Posts