Showing posts with label vintage mason jars. Show all posts

Saturday, November 30, 2013

Mason Jars - Rustic Industrial Hanging Tea Lights


After I spying, the new Ball Park Vintage Mason Jars, at Target, for $8.99 for 6, I knew I just had to buy them.

The beautiful hue of the blue, is such a pretty color, I knew they would make cute hanging mason jar tea light holders and knew just the right spot to hang my mason jars from.


So can you see the ugly fluorescent lighting on the left and then a gap underneath next to it.
This is the spot wanted to  utilize and make somewhat nicer to look at as well as having softer lighting for, when Jason and I have dinner dates at home (if and when, our Lil tinkers allow, lol)

After a week of trying to figure out 'how' I was going to hang these mason jars to the underside of the cupboards, without wrecking the wood ( again with student housing and not making too many holes) I set to work and hoped it would turn out how I had envisioned it in my head.


 I used 3 vintage blue mason jars and then 2 clear mason jars.
I rummaged around in my dwindling wood pile ( I'm going to have to restock this soon) for wood that would be long enough to fit the width of the underside.


I had some pine wood that would do the trick, so I measured and used a wood saw to make my cuts to make 3 pieces all the same length.


Then using smaller pieces of scrap wood to make my cross pieces. I wasn't worried about the shape of the cross pieces, as you wouldn't be able to see them.


Pre drill your holes.


Screw together using wood screws.


Flip the wood , so you have the right side facing up. Lay out your jars on top.


Mark where you want the jars to go.


Then pre drill  holes.


For the next step, all I did was to stain the wood a walnut  color. 


While I waited for the wood to dry, I made my wire loops from 2mm silver craft wire, which is where I'll hang the chain from.


I cut 6 pieces of wire and bent them in half.


Then I poked the wire through the wood. You can see the wood stain color now.


Once poked through, using pliers, you bend and twist the wire so it sits on the wood.


Push down on the wire twists, then using glue gun, glue in place.


Next I hung the wood base to the underside of the kitchen cupboards. I'd pre marked where the wood ended, then screwed up into the cupboards.


Using some of  my silver 2mm craft wire, I made an 'S' shape then curled the ends.


Next was to take my craft wire and wrap around the jars and make loops to hang the twine from.
Cut a long piece of wire, and in the middle of it make a loop and twist.


Put the loop wire on the side of the jar under the lip, pull the remaining wire around and twist to make your second loop.


Do the same process on all of your jars.


To hide the wire, I used some twine and wrapped it around the wire.


I added a tea light, and some glass pebbles.


Then taking some twine, I strung it through the wire loops.


Now take the s wire loops you made earlier and hang them from the main wood wire loops.
Then taking you mason jars hang them up from the 'S' loops. 

Mason Jar - Hanging tea light holders.


I must say, how much I like how it turned out!! It gives off just enough light for the romantic dinner dates, Jason and I will hopefully start having.
I lit the candles for the pictures, then realized my mistake!


Twine and a flame don't mix well. LOL

So I switched the twine for metal chain. To be safe!


Now it's mixture of rustic and industrial chicness !


How it looks from the underside!!


Read more >>

Wednesday, November 13, 2013

Bathroom Magazine Holder & Shelf


Repurposed Closet Plantation Shutters

Into

Bathroom Magazine Holder


Once again I found a bargain at a local repurpose store, a set of Cheap Plantation Closet Doorss for $15

Now I have to say, I did take pictures of the before & how I cut the one side of the shutter door into two, but somewhere and somehow...they got deleted ! Big oops! 
Anyways I do have all the other steps. I will just say what I did, and you can see from my pictures what I did.


Here is a copy of what my shutter door used to look like
What I did was unscrew the doors, so I had 1.
Next, where you see the part where the doorknob is, I made my cut just the other side of it. That way I had 1 full part if the shutter door.
On my doors they were a little rickety and the side parts of the wood  was easy to wiggle far from the bottom, allowing me to remove every other slat of wood.
(Save your left over slats for later)

When you remove the slats of wood, it will leave a gap in the edges. I used Wood filler to fill these. Let them dry then sand them off.


I have a pile of scrap wood, and I measured where my bathroom towel rail fixings were and marked them on to the spare wood, This will go on first and what I will fix to the wall, and the shutter door will be attached to.


Here you can see me placing the spare piece of wood under my door
I have already predrilled the holes, to where it will be fixed to the wall.


I predrill holes 


Then screw into the back piece of wood


In this  picture you can see the slats of wood which have been taken out


From the same repurpose store I found these shelf brackets, 4 for $2 !!

I sprayed them black and left to dry


Now to make the shelf that will sit on top of the shutter door.
I used scrap wood, which by chance were just the right size in length.
NOW THOSE LEFT OVER WOOD SLATS- I used mine for the cross pieces go under the shelf. I nailed them in.


Flip it over and now you have your shelf.


Once your brackets have dried, position them into place on the door, then screw them down.


Next put your shelf down and set the door with brackets on top.
Now, I made an oops! I forgot to account for the height of the slats underneath. 
So I slipped an extra piece of the slat under the bracket to make up the difference.


Screw the bracket down onto the shelf.


Here we go, all sturdy !!


I used Krylon Black Flat Primer & Paint.
 (I used the whole can) 


I used a mix of 1 part water & 2 part paint.
(Benjamin Moore Acadia White)


Start with the back side first.
Using a rag, apply. I did four wood slats at a time, once you applied the paint you go back & rub it off.


In this picture you can see the slats on the right, the paint has been wiped off.


Finish the whole door


Now for the next stage, using a foam applicator, I applied straight paint.
But NOT too thick.


In this picture you can see how much I used.


Then using your rag, wipe off the excess paint.


Back side done, now for the front.

I'll just post the pictures, I used the same technique as I did for the back.


I painted over the brackets too.


Once dried, I applied Minwax Paste Finishing Wax, apply and leave for twenty minutes, then Buff up

You can see the picture on the right, then sheen on the wood.


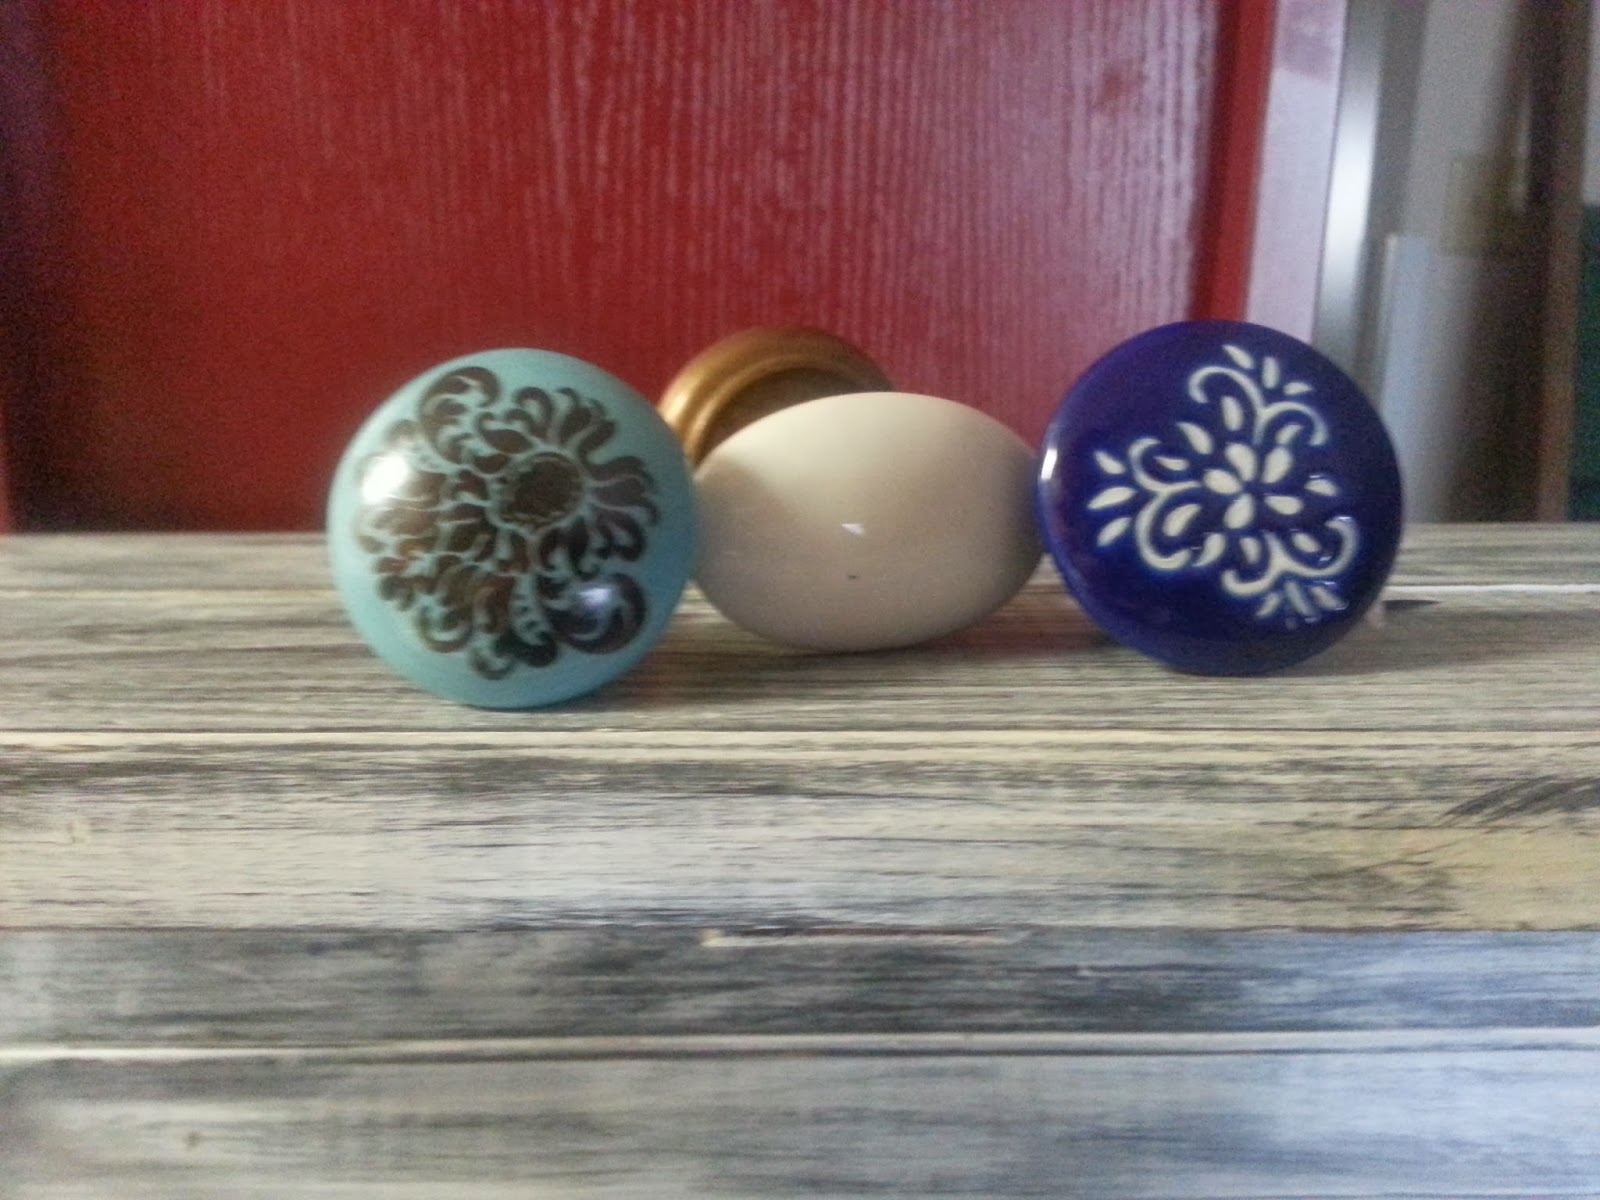
Now look at these cute door knobs I found at Hoby Lobby - on Sale !
$1.36 each.

I screwed these on under my shelf.


Next I attached the door to the wall.


On the bottom there was a gap, so using scrap wood I painted black, I slipped behind the door, and screwed into place.


Add your magazines!

This is what it looks like from the side, you cans see the magazines hanging down

Heres the finished project,


Bathroom Magazine Holder & Shelf


Here are those Door Knobs, don't they perfect, I love them!


I added an old key and a silver potpourri, I've had for 15 years.


Add some decorative, Bits'n'Bobs on your shelf.
The small glass jar is some of my homemade, Sugar/Salt Body Scrub
And a simple New Ball Vintage Mason Jar (Celebrating 100 yrs), I found at Target, for under $8.99 for 6. I have loved these Jars and wanted some...I wrapped with twine & added a couple of hydrangeas stems.  
And hang your very own Chalk Board Art above & your set.


And the next time you're visiting your bathroom, take a seat :)
and read some gossip or learn how to make a new recipe, or some History.


Read more >>

Popular Posts