Showing posts with label wood. Show all posts

Thursday, August 20, 2020

It's Been A While.


Like most of you, I too, along with my hubby and kids have been cooped up for months on end due to Covid-19. 

With traveling out fo the question, our back garden FINALLY got done! Woohoo! Been in our lush house for four years with a dust bowl of a back garden, now it's my little bit of heaven. I knew what I wanted from the start; and I designed it with, home in mind. When I say home, I mean Wales. 


As a child we had a massive blackberry hedge that year after year, my sisters and I would eat so many of them, and yes, even without washing them LOL Those were the days right! 

In my childhood garden, we also had, rhubarb, strawberries, raspberries, and all kinds of veggies and my all-time favorite flower; Bluebells and second, daffodils. As a child, I didn't like weeding and having to go out to pick veggies etc. Now, as an adult with a finished back garden, I weed, and planted those things that remind me of home. The proper, English bluebell bulbs will come In October from Britain and I can't wait to plant them and see them bloom. 

I've got carrots, chives, cilantro, green onions, marigolds and nasturtiums growing in the raised veggie bed and the other raised beds I sowed a bunch of wildflowers that are to encourage Monarch butterflies. Then I have hydrangeas ( those remind me of the time when my dad was recovering from his brain hemorrhage in Pwll, Llanelli.) Lilac, lavender, mint, and chrysanthemums. The trees, well...no massive oaks in our garden lol but I went with. ones that do well in Utah. The one I do have is a weeping cherry tree (weeping willows were out for our back garden they grow too big. (As a child,  my sisters and I when we lived in Dafen, we'd go wandering in the fields and sneak into the care home grounds where they had the biggest weeping willow tree, I'd ever seen. We'd hide under it umbrella branches and play.

My other trees are an Emperor Japanese maple, Cleveland Pear (not fruit-bearing), and a zelkova wireless. 

I also wanted a firepit and flagstones that reminded of, home too. Even the raised beds remind me of castle walls back home. You may also notice I have a Welsh flag, high and proud :)

All, We have left to finish the garden is the picnic bench that will come next week and one last string of bistro lights. Then it'll be done. Our dear friend helped me hang up the three rows of bistro lights, https://www.amazon.com/gp/product/B082R2QCQR/ref=ppx_yo_dt_b_asin_title_o09_s00?ie=UTF8&psc=1 

 I did the last one over the cement patio myself. I also did the barrel planters with the posts for the lights. Yes, I carried the 80-pound bags of quick cement and mixed it and planted them once they were dry with flowers. I also wrapped the trees and posts and hung on the fence, LED solar lights! Boy, do I love them.

https://www.amazon.com/gp/product/B0892L9KHT/ref=ppx_yo_dt_b_asin_title_o01_s00?ie=UTF8&psc=1

But today,  I wanted to share with you the idea I had forming in my noggin :) I set about creating that idea.

 For the firepit top I made. I found this blog about making one and I followed her directions - https://addicted2diy.com/diy-fire-pit-cover-2-0/

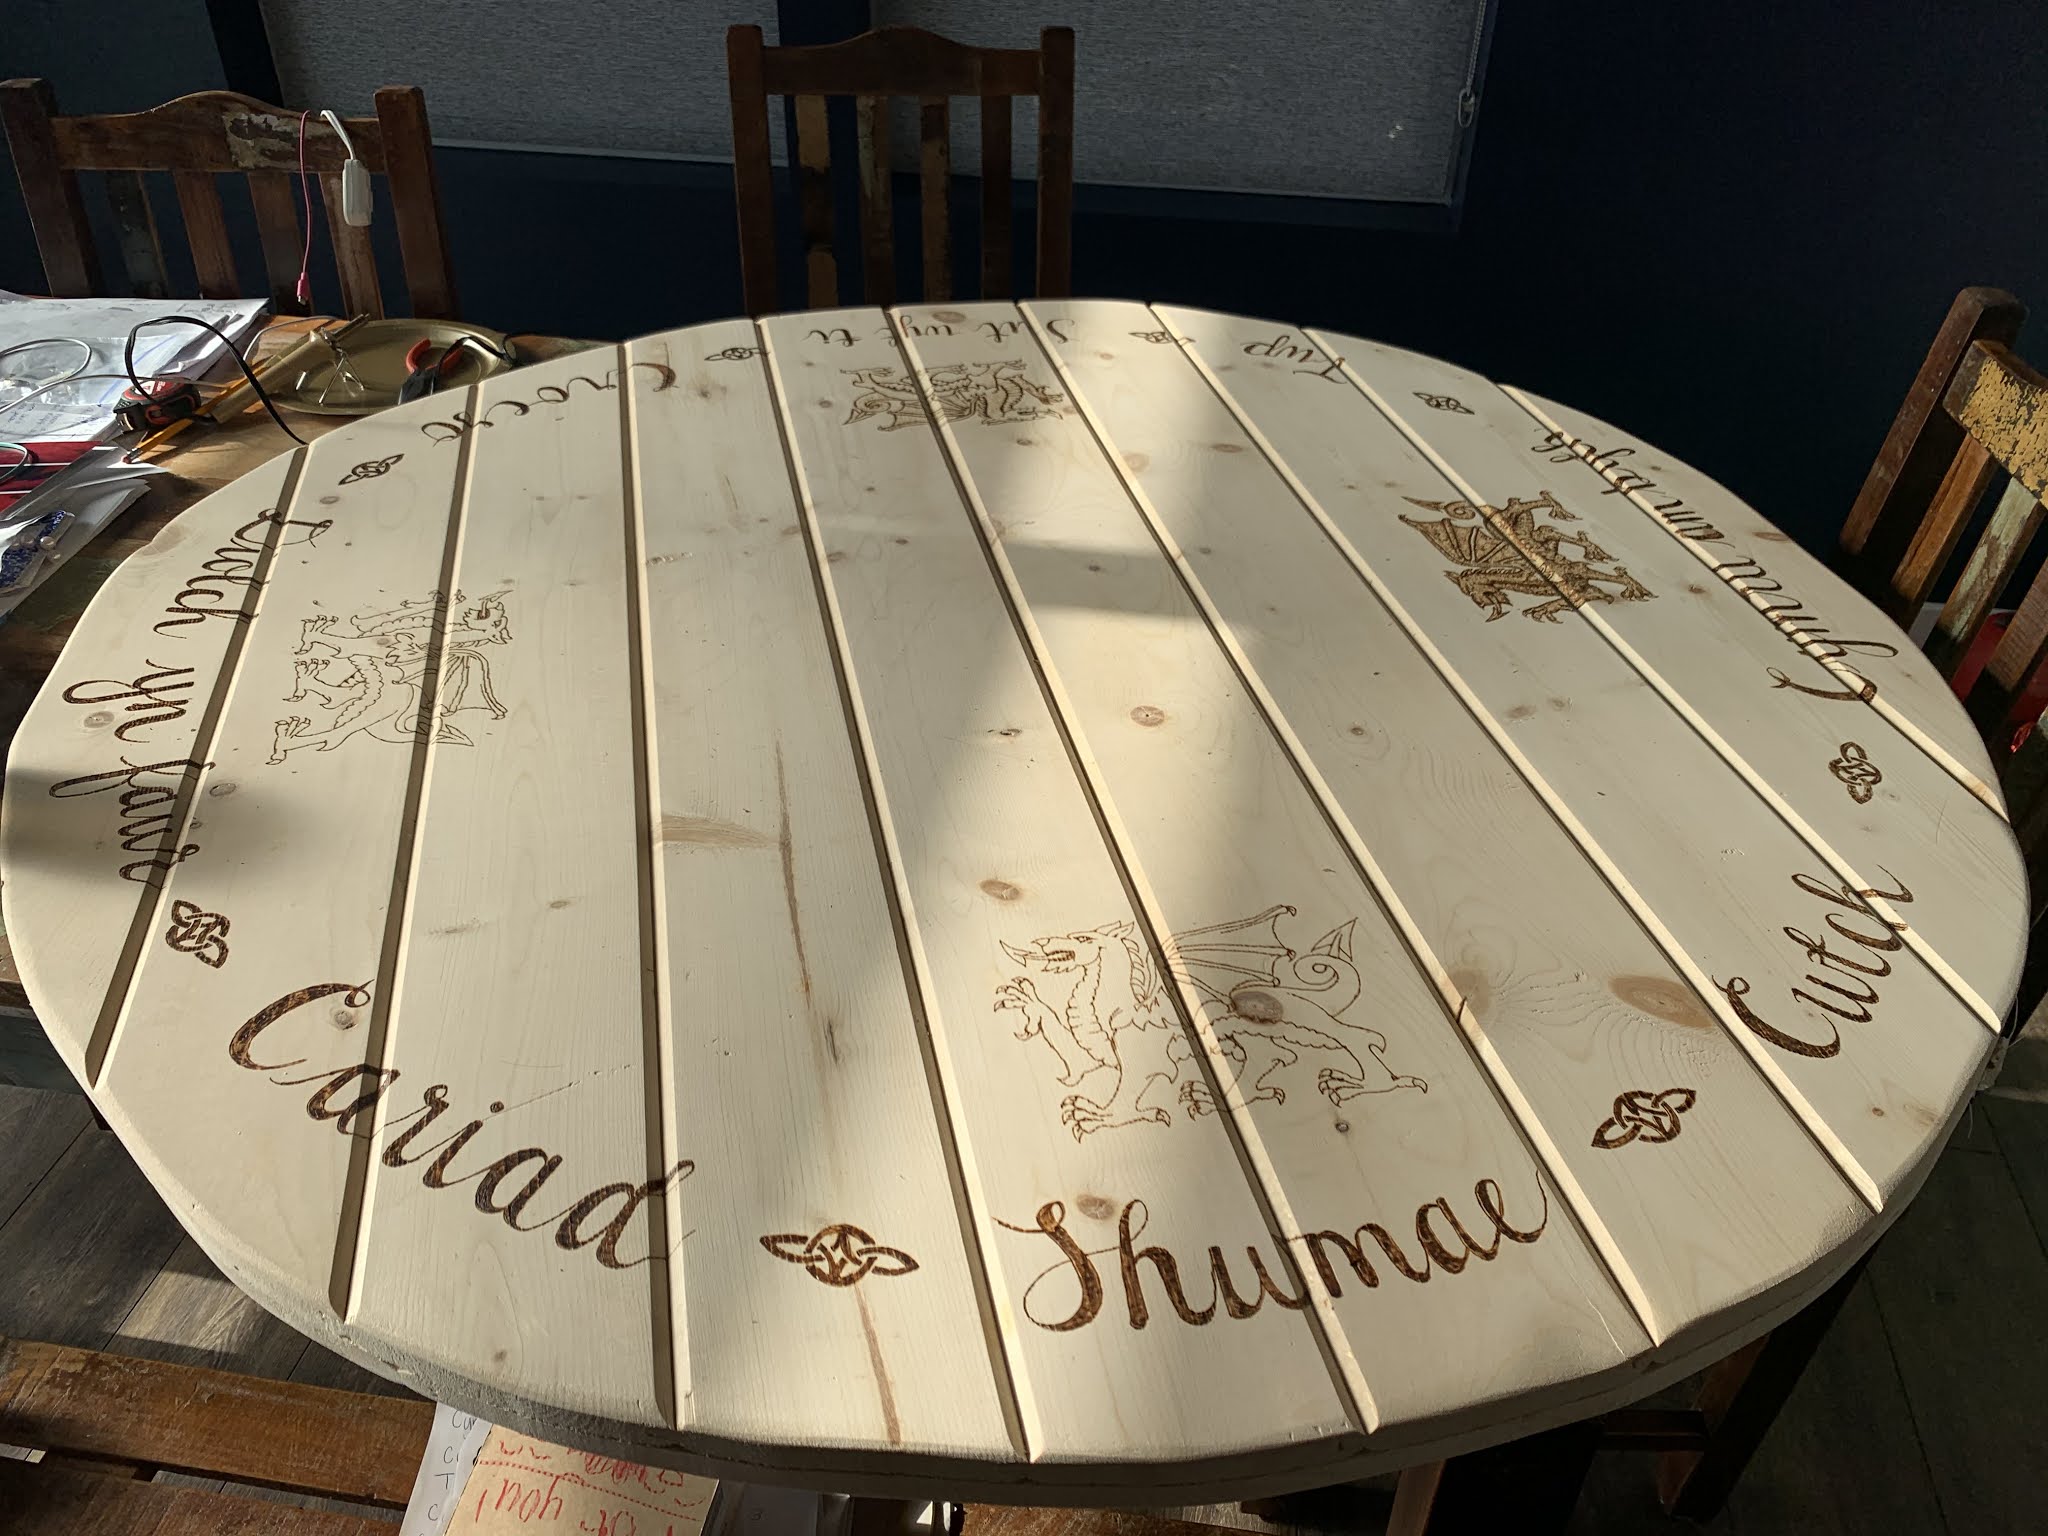
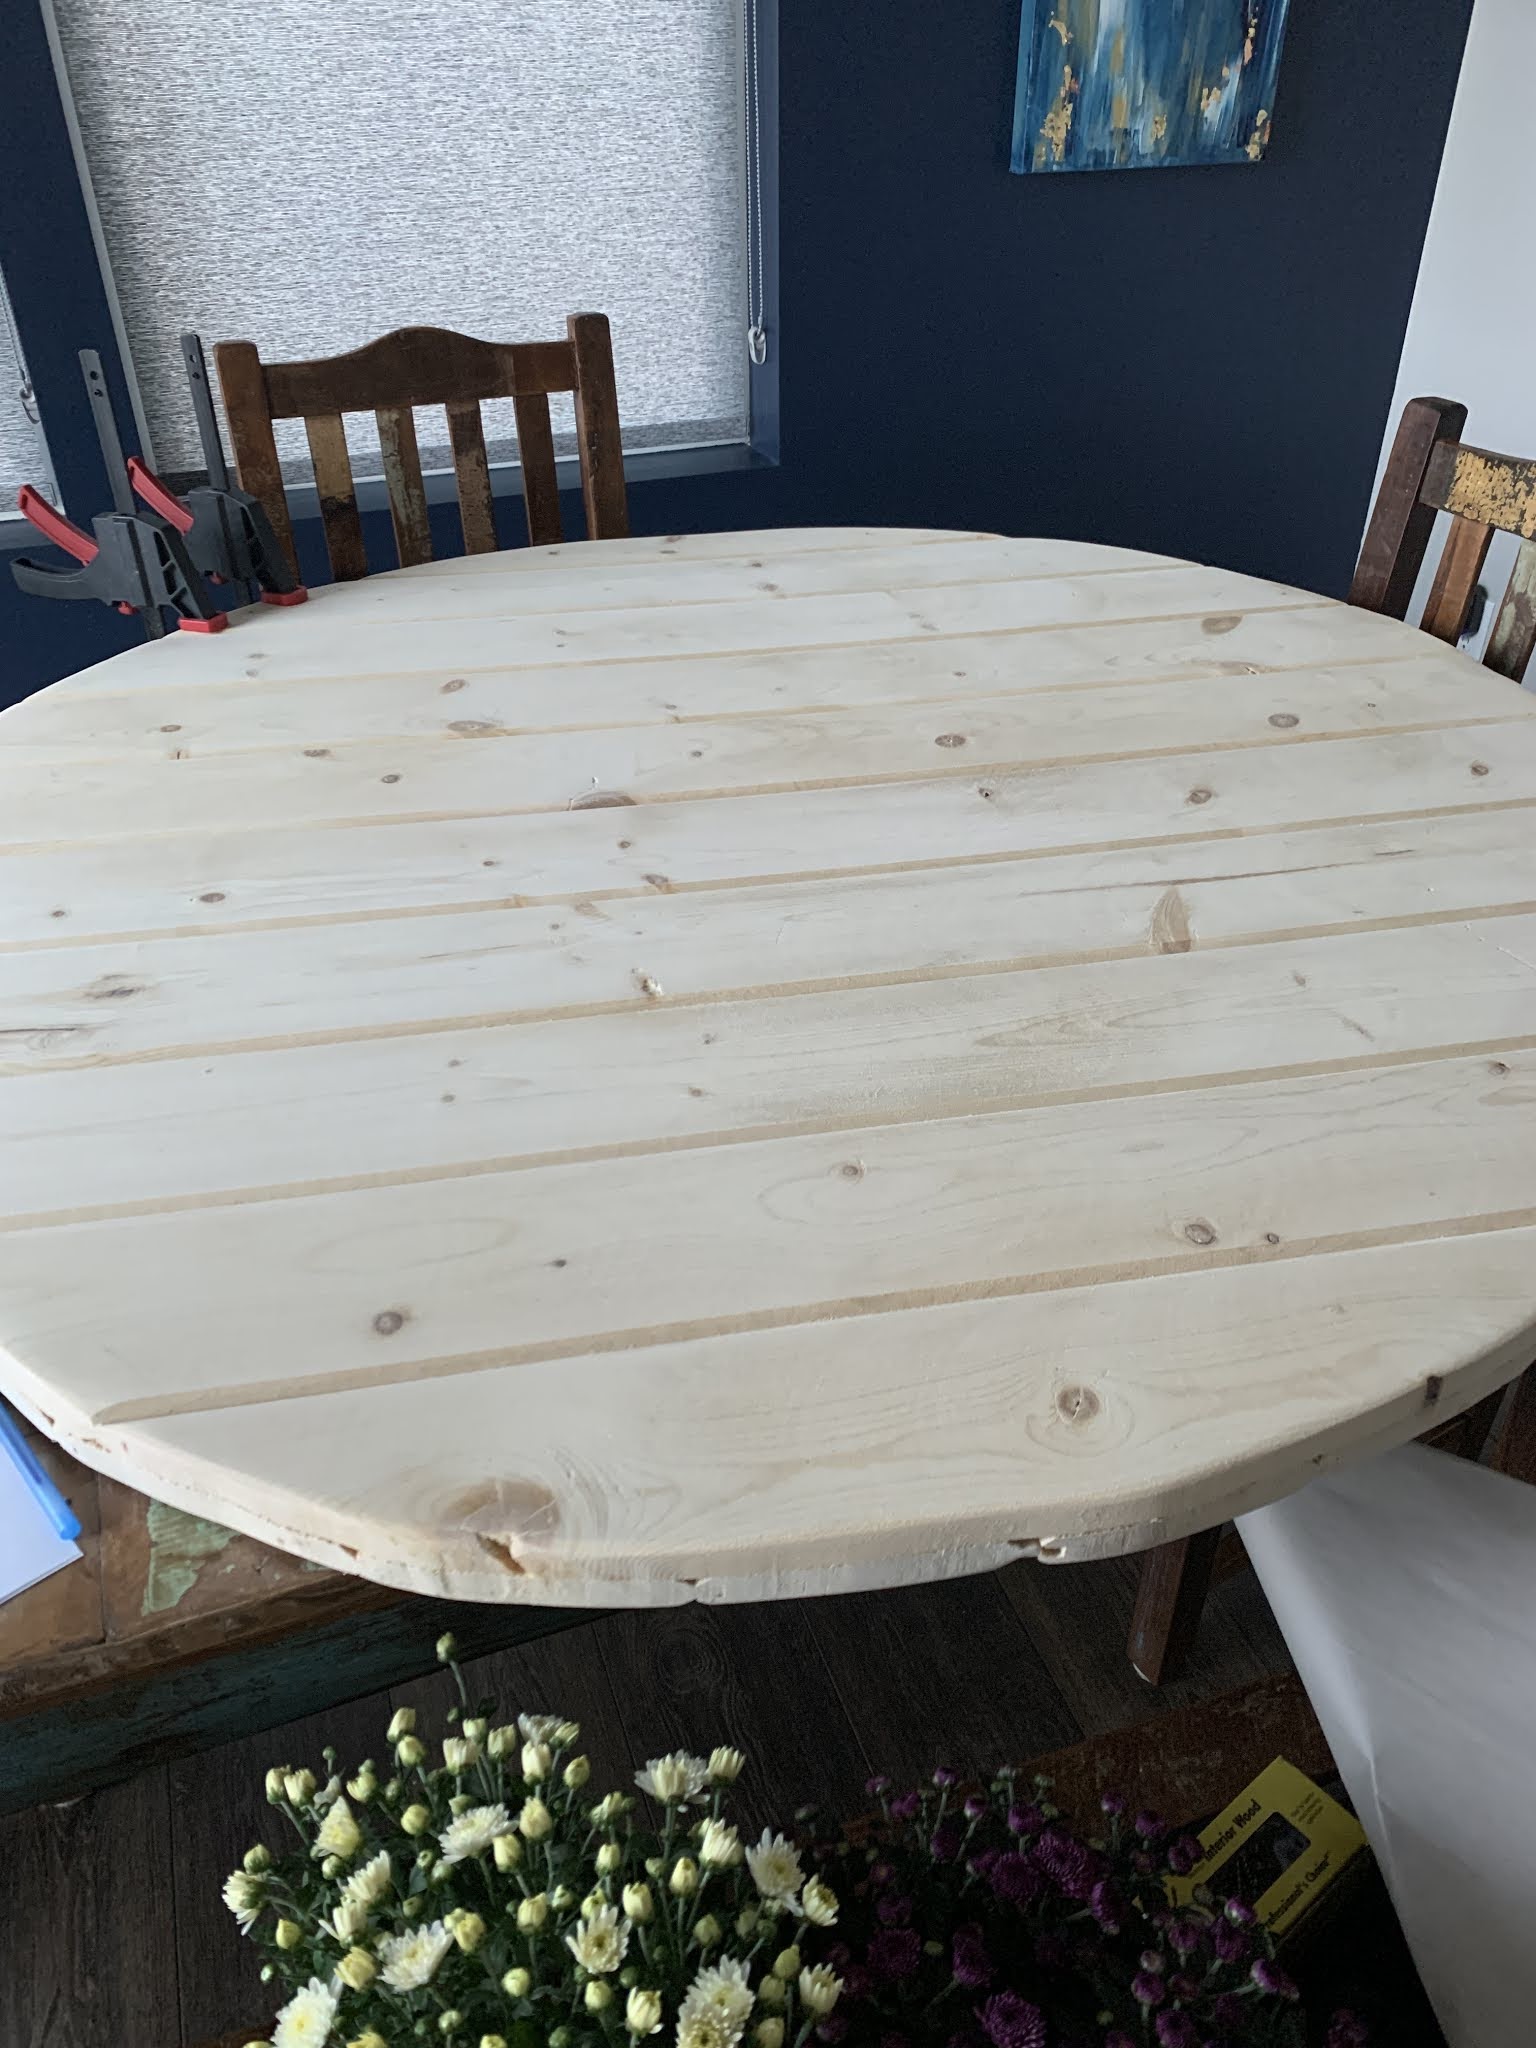
I went with shiplap as my wood, which I glued together to make it stronger.  I used 8ft boards which I cut into 48' each. Which is what my fire pit is in circumference. I made two of these, glued them together and then from the underneath I screwed them together too. Once that was done I drew out a 48" circle and then cut the extra wood away. Sanded and then the long process of designing what I wanted on the top. Of course, I went with my heritage of being Welsh. 


I enlisted my daughter Ashton to draw out the words and a template (she has lush handwriting - not that I don't) then we traced over the words to make indentations in the wood, traced over those in pencil and I did the same with the dragons and Celtic knot which means family then, I began the hours/days process of wood burning.

Can I say, my hand ached like no other! Sheesh.

But.....I loved how it turned out. 

And if you're wondering what on earth do the words say; here you go :) going to the right,

Cwtch= cuddle

Cymru am byth = Wales forever

Twp = daft

Sut wyt ti = how are you

Creoso = Welcome

Diloch yn fawr = thank you very much

Cariad = love

Shwmae= Hello

I used a water sealant with a light stain. Then I added handle I purchased from Hobby Lobby, on sale! Who doesn't love sales! 

I also bought a clear, elasticated plastic tablecloth to cover my firepit cover. Yes, I know I used a sealant, but our sprinklers literally criss-cross over where our firepit it! And me, being me, I didn't want to wreck all my hard work!

Don't know about you, but it turned out pretty awesome, right :)


Read more >>

Friday, April 4, 2014

Easy Display Burlap Bunny.


Here's the 2nd post of my Easter Crafts for 2014.

My dear friends from Crio Bru :) Eric & Cassandra Durtschi have sent me some of their empty Burlap Sacks
 I mentioned to Cassandra about wanting to make something from the Burlap Sacks, so they sent me some 
(I must mention, I did pay for S&H) 
But when I received them, I did not expect the sacks to be so BIG!

With that in mind and with Easter crafts on running amuck in my mind- 
Ding!!!
 Idea, a quick Burlap Bunny. 
But I wasn't sure on the how part. 
And as we ladies like to browse on Pinterest (maybe for too long sometime LOL) I found just what I was looking for. Find the original posting

But, unlike the one on the original post, my burlap wasn't already pre painted with dots, I had to paint them myself. Easy enough.

But, with a little help from my little tinkers :) Seren & Carys LOVED making pretty colored dots all over the burlap & may I add themselves!!!

And if you don't have any old burlap sacks, you can pretty much use any kind of thick fabric, or even an old drop cloth. 
(Which I actually used for the baby bunnies - HERE)


Here are the wonderful Burlap Cocoa Sacks!!
(Thank you so much Eric & Cassandra)

For this project I used this one from Jamaica
All washed and clean which, when drying didn't smell so good lol


I turned it inside out & laid it flat on the floor.


Then, starting from the TOP (open end)
Measure down a few good inches and cut in a downward rounding motion (these are its ears) and to about 1/3 of the way down on the opposite side.


Open up and you can see the shape of the ears at the top.
 Save the piece you cut off
(See mine along side the sack)


Then, with some odds and ends of wood cut off and Batting, I had lying around
These will become your stuffing!


Open up your sack and fill, starting with the heaviest bits of wood.
Keep filling it up so it will stand on its own.
(We don't want it to blow over, ESP if you're using it outside like me)


Then take your batting and place inside a plastic bag and tie the opening shut.
Pop that inside your sack


Take a rubber band and tie the ears (top) together.


Now remember that piece you cut off from the top?
You're going to use that to make your bow.


TIME TO PAINT DOTS :)

Using some pretty Easter Colored Paints & a round Sponge dapper dip in the paint
And get dotty!
Let it dry.

YOUR

EASY BURLAP DISPLAY BUNNY


Read more >>

Thursday, February 6, 2014

Rustic Valentines Wood Sign


With Valentines Day nearly upon us, I realized I hadn't done any wood crafts for this special day.

ARGH!

I rummaged through my  numerous bags of wood (which, may I add,  I in a tiny apartment, I have them in every  spare spot I can find). I found just the right sized piece of rough wood and what's more, This whole project only took me  30 minutes to make.
Easy Peasy, Lemon Squeezy!


I started with my piece of wood, some red acrylic paint and a brush


Squirt some paint into a pot, add a little water, give it a stir.
(The look I wanted is a wash of color)


Once dried, I chalked the word 'Love', then painted over using white acrylic.


I predrilled some holes before I painted the word Love on. I used some copper wire to use to hang it.


I poked the wire through and using a pliers, I bent it into a heart shape.  Then, before you feed the end through the other side, I wound the copper wire around a round wood dowel, then finish off  like the other side.


And there you have a quick homemade Valentines Wood Sign.
I switched out, a chalkboard painted picture frame. 
So my new Valentines sign can take pride of place
Sitting on my Pallet shelf.


Don't you just LOVE it :)


Read more >>

Monday, January 27, 2014

Easy Wooden Under The Table Cart


Even though the cold weather is evidently 'NOT' going anywhere soon, I just had to do some wood projects and one of which was how to figure out a good and easy solution to storing my girls Melissa and Doug wooden toys they got for Christmas.

Since Christmas day, the such toys in question, have been kept under my coffee table, begging for a better home.

But with the lack of space, the only solution was to keep them where they were (as the girls always use the coffee table as their base to set up the wooden farm and village)

What could I use? A basket, nope - been there, done that! - Didn't like that option or just leave them as is or something else - I chose the latter.

After mulling over what I could make, without making too much mess with my jigsaw - I took some measurements and got out some wood bedside edges and got to work making a shallow under table cart. It had to be shallow, for the girls to SEE their toys and be able to access them without my help.


Here are the 2 wood bedsides, I got for $2 each!!


I mark where to cut. I needed 3 same lengths for the bottom.


And one of the same length, but cut down the middle for the side and 2 smaller for the top & bottom


Those pieces were to make a rectangle - these will be my sides.


Then, using liquid nails, I glued the bottom & tops to each of the sides. Then, using wood screws, I screwed them into place.


Leave to dry. This is what you will screw your base too.


I cut 2 narrower pieces, of wood to attach to the frame. Glue in place using liquid nails


And for extra strength, Nail down.

Do the same on both sides. Give them a good sanding down, I actually made sure the corners, were sanded down to a rounded edge. 


The using the 3 pieces of wood, I attached those on top of the narrow wooden pieces.
I used nails and wood screws to secure them. Using Krylon  White Primer and Paint, Give it a couple of light coats.


I had some left over paint from making my Bathroom Magazine / Toilet Paper Holder and thought that would work just fine, as it will match my Coffee Table, I refurbished last year.

I gave it 3 light coats using the leftover paint.Then once dried I used some Valspar Antiquing Glaze to give it finished look to match the coffee table


Now came the super easy part :)

Attaching the dolly wheels. I choose to use ones that only went forward and back. Knowing all to well my girls will pull out the wooden toys and use the cart for their own fun uses :)


I picked the dolly wheels from a local hardware store - these actually cost the most, at $4 bucks each.
I attached them at either end.
( As you can tell from the leg standing in the picture above, Carys was kind enough,  to give my work the strength test, by standing on it)


Now if you look close enough, you can see my wood work is NOT perfect. But who cares! It's only gonna get dinged up.


I attached a handle to each side.
I got these handle from Hobby Lobby when they were 40% off.

Then here you have it.

My
Easy Wooden Under The Table Cart


Which most certainly does the job of keeping the girls wood toys all neat and tidy, even if it's only when they go to bed at night LOL
  

Not only do I love it, so do my little tinkers, Seren & Carys. 
They think it makes the most wonderful ride :)


All neatly tucked away under the coffee table, ready for another day of play.


Read more >>

Popular Posts