Showing posts with label paint. Show all posts

Thursday, July 7, 2016

House Update 2


So, our home is coming along swiftly - at last!

Exterior Paint color we chose - Parsnip
Accent color - Shaker Red
Stone work - Corondo Country Rubble Cabelas blend
Roof Shingles - Natural Wood
Trim Work - Toque White - SW 7003
Fascia and Soffit - Cameo
Garage - White with window panels on upper. (which is going to be installed today )


It looks way different from my last blog post - don't you think :)

We met with our builder yesterday and I heard the news I wanted to hear.

We'll get the keys by 21st July! 

Trumpets are sounding!

Over the 4th July weekend Jason and I with kids in tow ventured the sales and purchased a washer, dryer and fridge freezer for our new home. An expense that was needed as our brand spanking new home doesn't come with them.

Anyways here's our our home is shaping up. Today the garage door gets installed. 
Monday the sprinklers and sod goes in too and then its the small details of adding faucets, mirrors and vanity lighting.


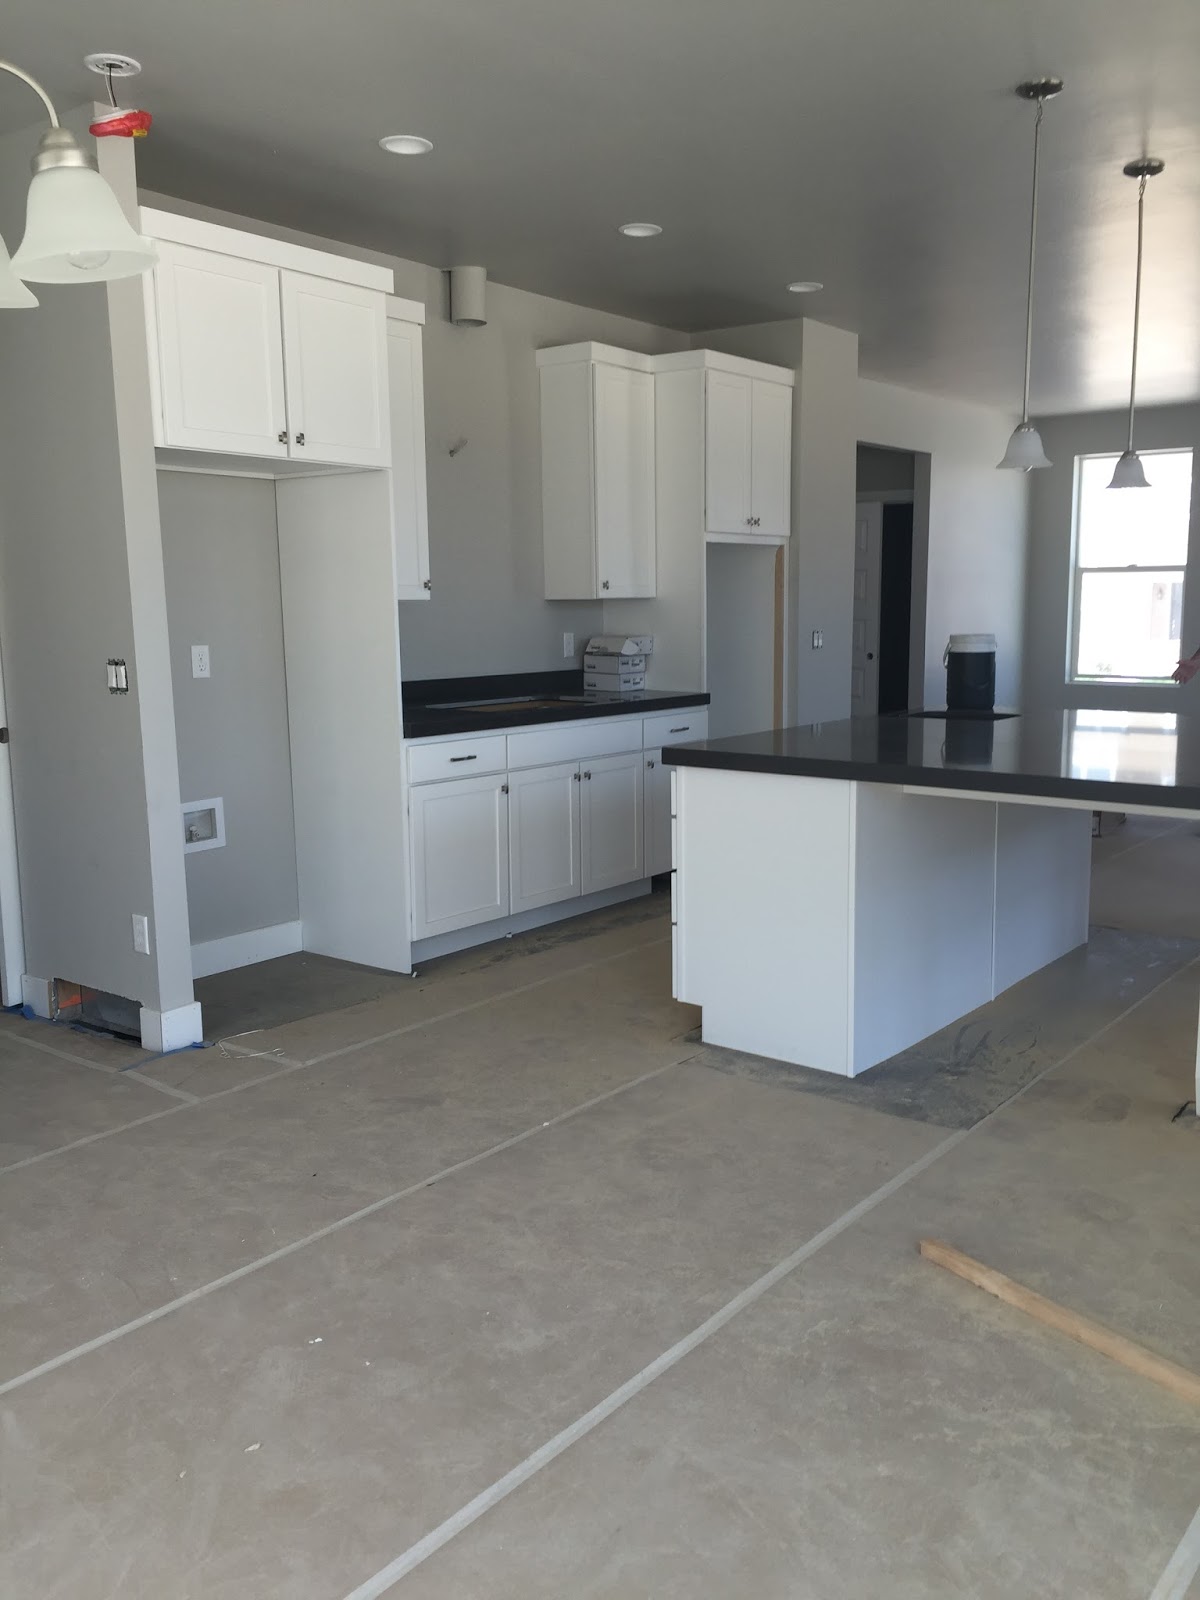
You can see the our flooring under the paper cover. 
It's called French Oak - Carraway 28021L


Our counters!

Love the mitered edges - makes the whole counter look rather chunky.


Our kitchen Island being installed.


Looks great. Can't wait to see the prep sink and faucet installed

The Quartz is Shadow Grey

LOVE IT!


All our kitchen and bathroom cabinets are 

Maple, Mastercraft Lancaster - White


I'm in love with my farmhouse sink! Its Kohler WhiteHaven K-6489-0
Single bowl apron front


Loving the counters too :)


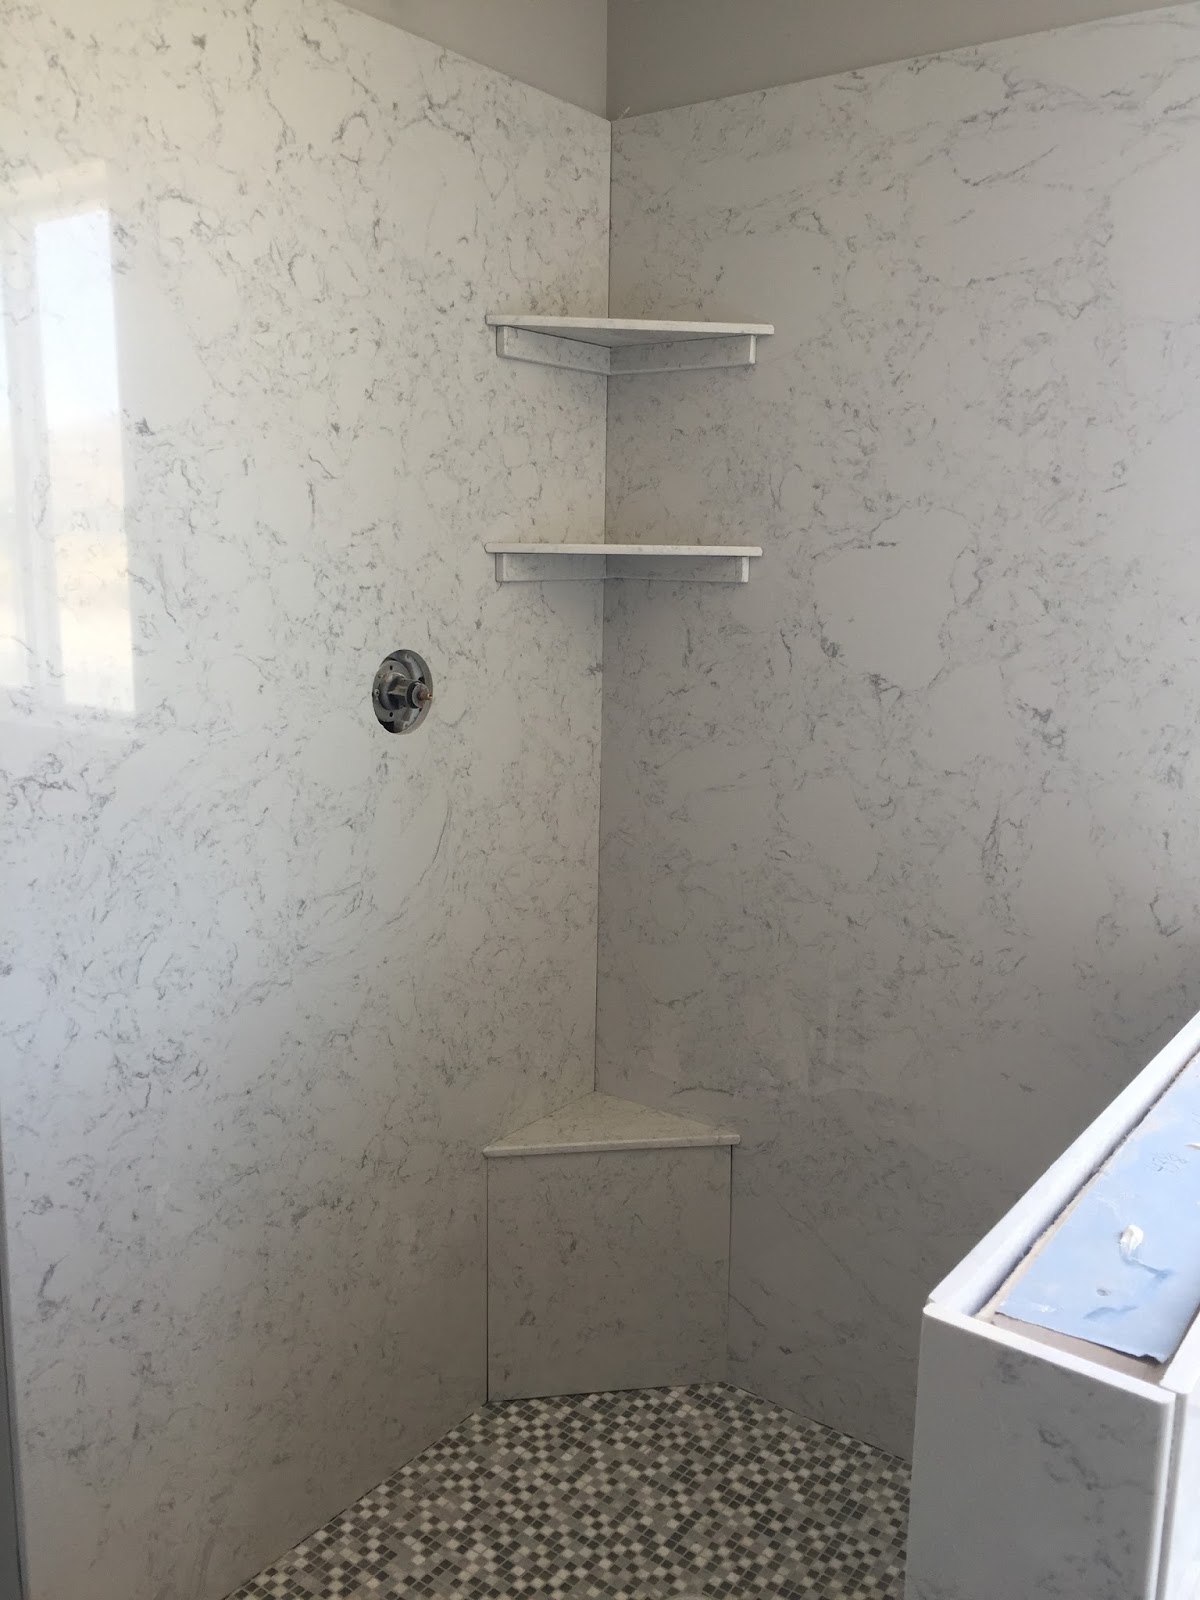
Our shower an bath surround were being installed while I was there yesterday :)

Ooooooo, so pretty.

Ecostone its's called Carerra
 and on the shower floor we chose
Bliss Iceland 5/8th with frost grout.

The Euro glass doors will be installed too 


Master bath loo.

Will be painting the walls a naval blue once we move in.


Main Bathroom.

All it needs is vanity lights and mirror and towel rail.

Then just a shower rail and curtain

PLUS a good clean! 
Including all the house too :)


We choose Sherwin Williams Repose Grey - SW 7015
 for the Walls.

And Extra White - SW 7006 for all the doors and trim work.


The railing is Sherwin Williams - Black of Night - SW 6993

We will be painting accent Walls in the dining, power room, master bathroom, loft and entryway in
Sherwin Williams - Naval color once we move in.


Read more >>

Monday, March 16, 2015

DIY Cake/CupCake Display


For our church Birthday Soical, I would be decorating two table centerpieces see HERE and I wanted them to stand out.

I came across this amazing blog page HERE and decided this is what I wanted to make and so my quest to find an old light fixture began.

I found a three domed light fixture at our local restore for $10


I completely stripped it down


Picked up some of the amazing E6000 glue and some wooden rounds from Michaels Crafts.


I glued the smaller wood round onto the larger wood rounds, then glue them to the base of the light fixture 

I found a plate at the thrift store and glued that onto the top of the light fixture. 


Weigh everything down and let to dry. Then I used ceramic paint to spray paint it. 
Add some pretty bling to the edges and didn't it turn out great. 


This is what It looked like when I used it for my T-Party table centerpiece.


In this picture you can see the underneath of the light fixture.


I can't wait to use this for actual cake.cupcake displays and think of the different color possibilities too!


Read more >>

Wednesday, July 2, 2014

Homemade White Board Calender


In the past I've bought white board calendars and if you're like me, I find them to be a little small for what I need. With that in mind and my old one taking early retirement in the trash, it was time I made my own.


I bought a cheap plexiglass picture frame. $11.99 on sale at hobby lobby.
 I went with a long and narrow size, as I had a certain space for it.


I disassembled it and using the cardboard backing, I painted it


Use three coats, leaving drying time in between coats.
Use any white paint.


Hanging above my calender, are birthday tags, which are super easy to make.

Pre bought wood shape, form hobby lobby for $1.47 a pack pre drill holes to hang them from


Paint both sides, using Chalkpaint. (which I already had) Three times each side -- remember to alternate which way you paint each time, that way you have a smooth  chalkboard surface.


Once the paint has dried on your whiteboard, it's time to mark out the squares.
(I actually made a template on a separate piece of paper before hand)


Measure equal squares


Draw your lines


Then, draw your squares and header for the month. 


I used a black paint pen to outline the squares and the days of the week etc.
I also added a cute saying along the top, which says:
Count your many blessings, name them one by one.


Once my birthday tags were dry, I painted the Month, using a white paint pen I used chalk soapstone and wrote all my family birthdays on them.
I bought my chalk soapstone from Crate & Barrel for $1.50 each! Needless to say I bought a ton, and I love how easy they write, you can sharpen them easily, and they rub off with ease.


I screwed little hook's into my shelf and hung my birthday tags up, using simple twine.

There you have it,  a cheaper, they way I wanted it White board Calender for $16.50

Homemade Whiteboard Calender


Easy to read and write on, wipe off, using whiteboard markers.


Super easy, afternoon craft.

Read more >>

Popular Posts