I've have never done a 'Big' furniture makeover before, but when I saw a Dinged Pine Coffee Table at a thrift store, I smiled and thought to myself,
Good bones for a makeover!
I bought the coffee table for $10!
Now it was time to start the makeover.
First, using my rotary sander, I sanded down the top with coarse sandpaper. I wanted to completely take all the pine color & varnish off, so I sanded it back to the bare wood. I did sand the corners & edges down - with my little girls who will be clambering on & running around the table, I didn't want ANY sharp edges.
I followed with a fine sandpaper, to smooth it out. I did leave the big dings on it - I wanted the table to look used, not pristine.
Turning the table onto its side, I unscrewed the top of its legs- keep the screws safe, you don't want to lose any. With the weather turning colder, I had to stain the table inside, in our cozy small college apartment- stinky, yes! Make sure you open windows.
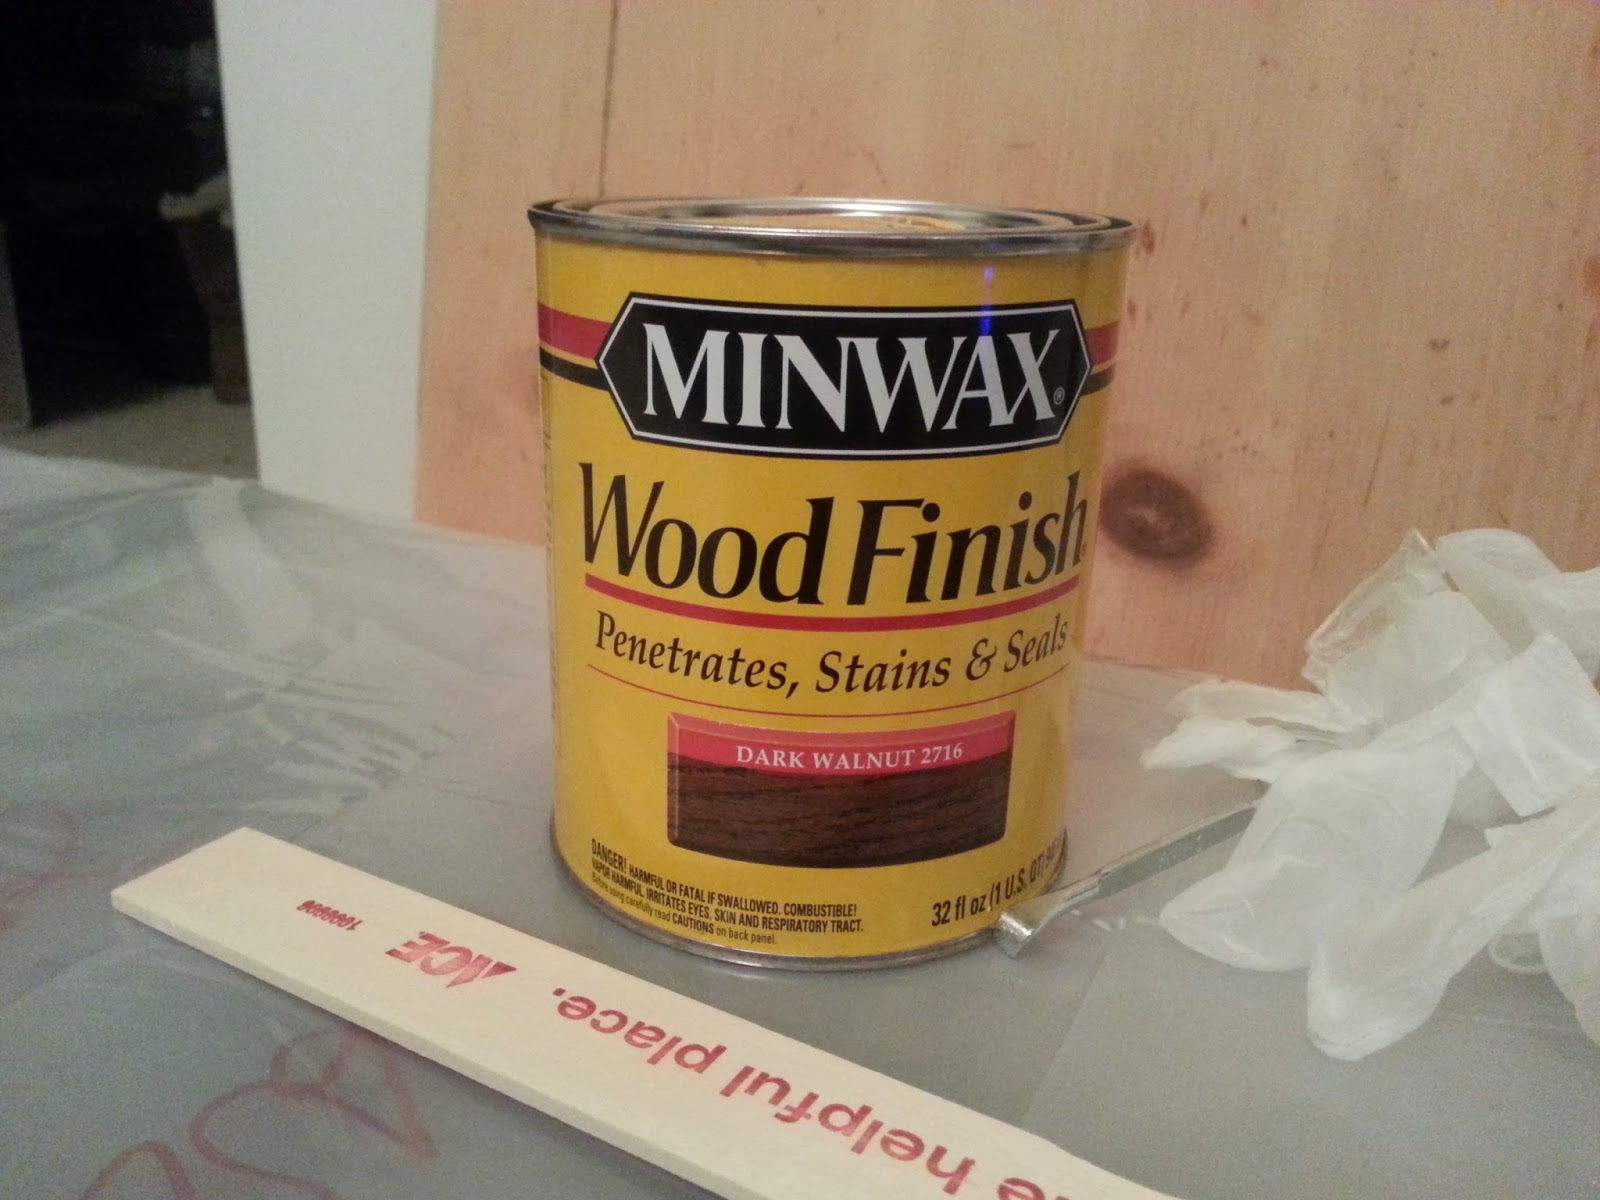
I used Minwax, Deep Walnut Stain, and using an old cut up old T-Shirt, I rubbed it into the top, going with the grain. Leave to dry overnight. Then I gave it a second coat, using the same technique. and left it to dry overnight.
The Legs.
I wanted the paint to have a good base to adhere to the legs; I sanded the sheen off using a medium sandpaper.
Then using the brand, 'Benjamin Moore - Premuim Flat Interior Primer & Paint' ( from Ace Hardware), the color I chose was, Acadia White.
Giving it a light 1st coat, ( it feels like a chalky paint when applying it) I left it dry for a good 2 hours before applying the 2nd coat, then the last 3rd coat, 2 hours later.
I left if completely let it dry overnight.
Back to the coffee table top.
I didn't want, yet another dark piece of furniture, ESP not in such a small space, I used some of the left over Acadia White paint.
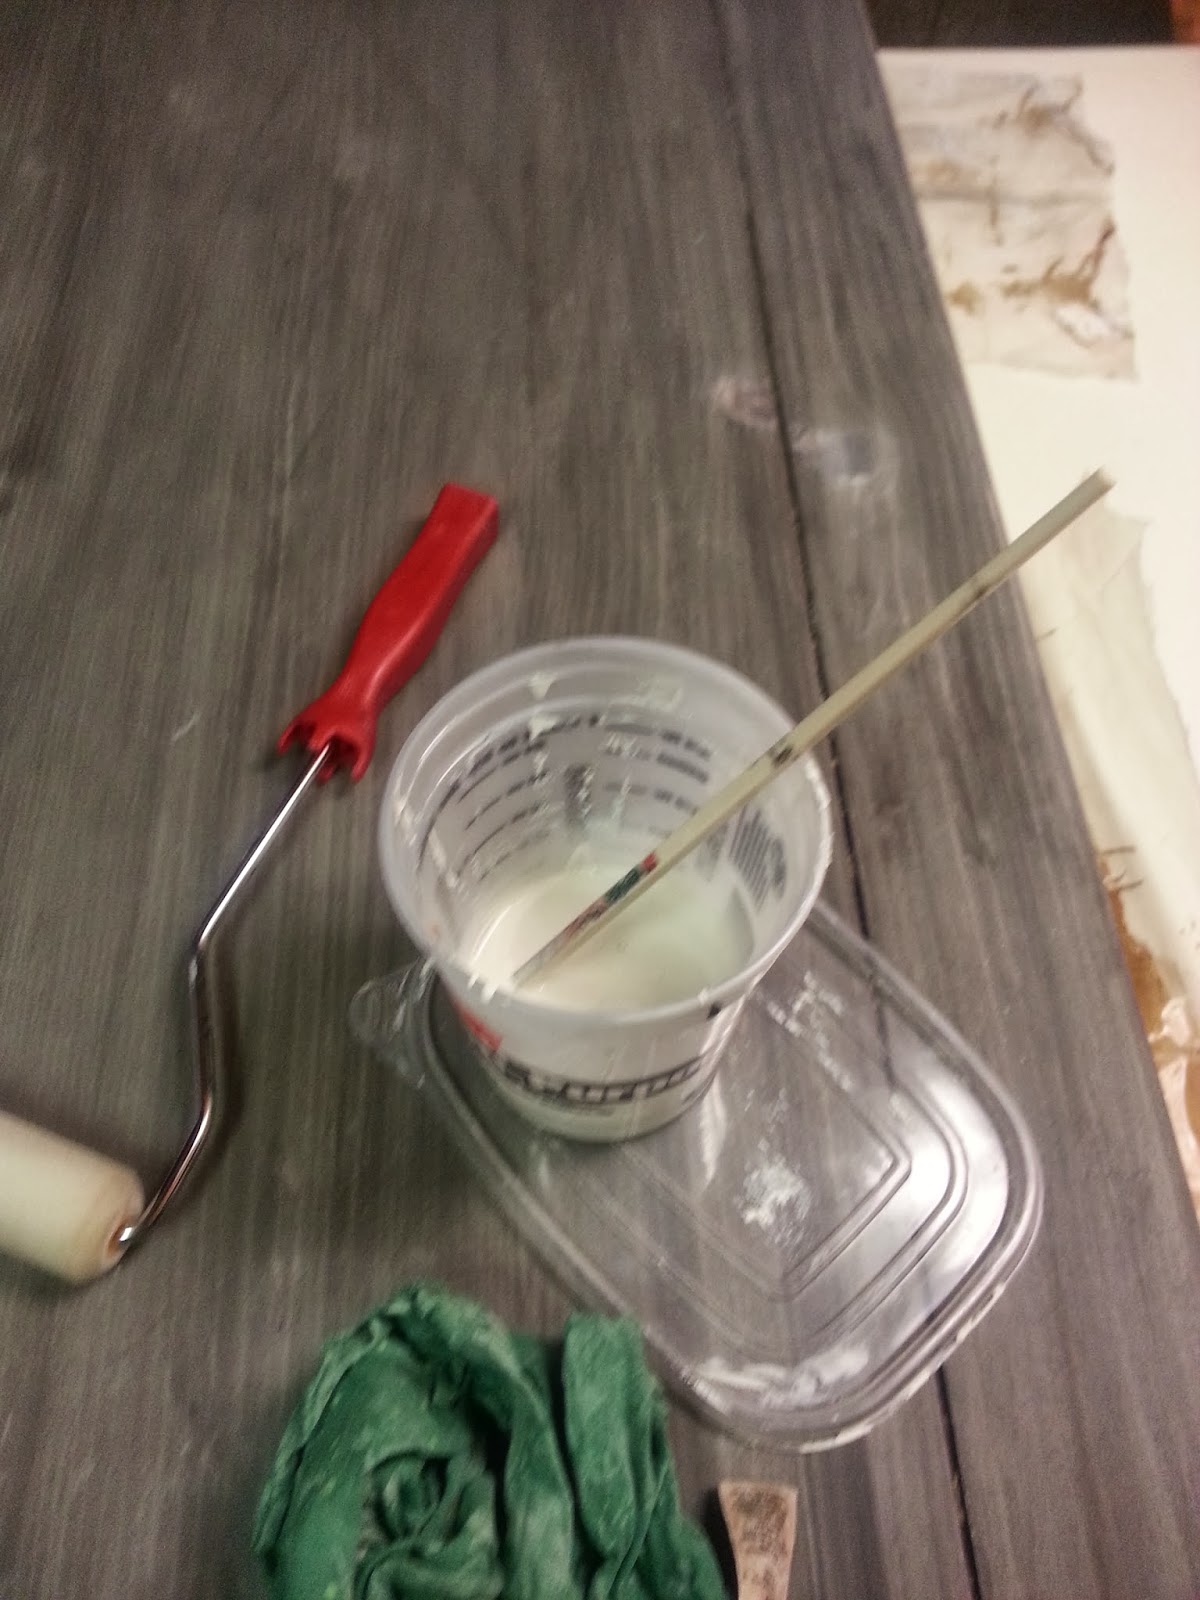
I wanted the darkness of the stain to show through, *so I used, 1 part paint, to 2 parts water & mixed well. *
Using a roller, I gave the top a light coat only leaving the paint on for about 3 minutes, then using an old, but clean cut up T-shirt, I rubbed off the excess paint. Then let it dry.
Now I wasn't sure if I wanted to go lighter or leave it that color. So I set it aside for the night, kept looking at it to see how I felt about the color, in the end, I decided, I wanted it lighter.
Following the *same steps* as above
I did, 1 light coat each time, to see how light I really wanted it to be. I did a total of 3 more coats. The light wash paint doesn't take too long to dry, so you don't have to wait to reapply your next coat. (You can decide how many you want to use.)
I let the final coat dry for 5 hours, then using Steel wool and a fine sandpaper, I distressed the top, around the edges and across the top. You can start to see the stain peeking through :)
I wanted the table to have something in the middle & after looking at stencils & creative vinyl lettering and the cost, I decide to do mine, Freehand.
I did Art through school, calligraphy being one course, so I gathered old English fonts, and did my rough drawing first on tracing paper. This is where you make your mistakes first :)
Then using a pencil I marked out the lines where my lettering was to go.
Then taking a deep breath, I drew the lettering on.
(Make sure you make a light pencil mark & don't press hard or you'll leave a groove from the pencil lead)
When I had finished, I sat back and looked at it, then decided to make it my own, by adding longer lines and curves of some of the letters.
Once the lettering had dried, I took steel wool and distressed the letters, to match the rest of the top. and the legs.
To see how I made my Shabby Chic serving tray from a picture frame click HERE
Taking a cloth, I applied Minwax Paste Finishing Wax. I purchased from Ace Hardware I left the wax on for 20 minutes then taking an old sock - I rubbed the wax in, I did the 'Wax on, Wax off ( karate kid style lol) in circles. You can feel when you have rubbed the wax in - the surface feels smooth and you can see the shine.
I LOVE
Our New
Coffee table.






.jpg)


