Showing posts with label door handles. Show all posts

Sunday, October 27, 2013

Decorative Shabby Chic Serving Tray


This Decorative Serving Tray

Took a half a day to make!

Easy
Anyone can make this tray.


On my thrift store rummaging, I found some great wood picture frames, for a steal.
(Tons of future projects to do, yeah)

This picture frame cost only 50c...! Yep cheap. 

So start shopping at thrift stores for your next bargain.

First give your frame a good clean & let it dry.

Remove the back & keep to use later.


I gave the frame a couple of coats of spray paint, using Krylon Black Paint and Primer. Leaving to dry in between coats.


Next, I had a sample pot of Benjamin Moore blue paint. I used a foam brush and painted three coats, again leaving it dry in between coats.


To at texture I used, my leftover a
Benjamin  Moore - Acadia White Paint & used a sheet of kitchen towel, then rubbed the paint onto the frame, working quickly, rub off any excess paint, till you get your result.


Using you steel wool & fine sandpaper - distress.


I dug through my scrap fabric, and cut a piece to cover the thick cardboard backing from the frame.


Using a hot glue gun, glue your fabric to the cardboard. 


 Make sure you stretch as you glue, you don't want any creases.


I used Mod Podge to seal the edges of the fabric, and let it dry.


I bought these handles from Hobby Lobby, when the hardware was on sale, they were only $2 each.


Mark where you want the handles to go, the predrill.


Screw on your handles, and use a finishing wax to seal.


Put your glass in & fabric backing and secure with the existing pins.

Then
Sit back & enjoy your afternoons handy work.


Shabby Chic Decorative Serving Tray.


Read more >>

Wednesday, October 23, 2013

Rustic Bathroom Wall Clock


Rustic, shabby chic Wall Clock,

Our bathroom in our little apartment, lacks uniqueness and practicality and a blank wall that was crying out for something.

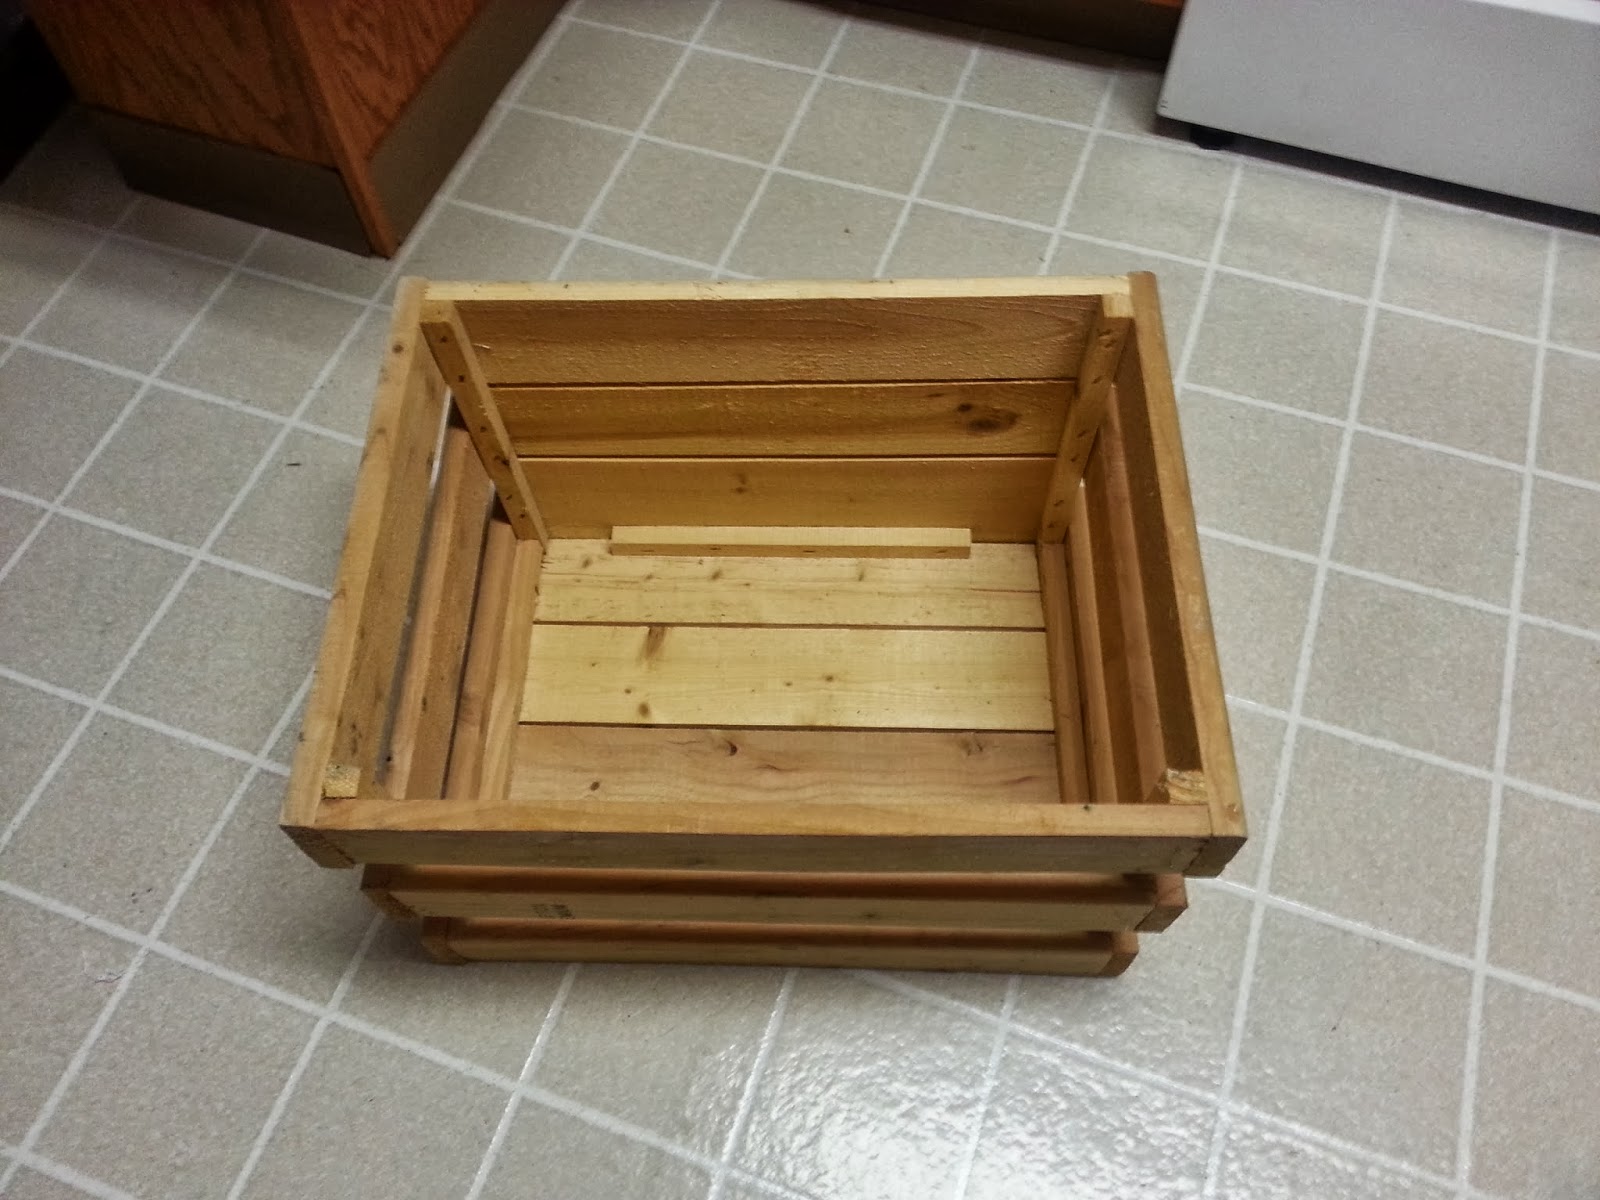
So, when I spied wood crates on display at my local, 'Copps' store :)  I knew exactly, what I wanted to do with them. The 3 crates only cost $10! Yeah! They would work well with the wood, I already had to make the bathroom shelf. (That will follow in another post.)

Two of the crates are being used, for a Halloween display outside,  the third, I cut down and used the top half, to make a much needed bathroom shelf and a clock display.


First, I used a hack saw to cut the top half off.


 Then I used a pry bar to take it apart


I knocked out the side and pulled out any nails.
That gave me two longer pieces and two shorter ones. I still needed one longer piece, which I took from my wood stock pile. For the cross pieces I measured, marked & then used my jigsaw to make the cuts.


The top cross piece turned out to be a little shorter, but I didn't mind, I was going for a not perfect piece.


I predrilled holes and then screwed the wood into place.


  Next I mixed some paint, adding water to give it more of a wash. I wanted it to look like old wood, so using my art techniques, I set to work.


Using an old T-shirt cut up, I dipped it into the paint and worked applied the paint along the grain


Leave to dry completely.


I found these drawer handles at a thrift store for 50c each !!


I disassembled the clock


And gave it a coat of Matt Black 'Krylon Primer & Paint' & let it dry.


Next I painted over the blackish gray color with an ivory


Once the wood was dry, I used steel wool to distress it.


Screwed a D-Ring on the back to hang it up with.


Then attached those wonderful 50c handles & a screw for the clock to sit on.


Then here is the finished new Bathroom Wall Clock,


Read more >>

Popular Posts