.jpg)

This year's theme
Skeletons!

A 30 minute craft. Spray paint a wreath, once dry, glue skull and snakes onto the wreath
And hang,
(I got my snakes and Skull door knocker from the Dollar Store.)


Give me a hand will you!

Hangman's noose!

Creepy Crawlies.


It's Just a bunch of
HOCUS POCUS.

Must have yummy Halloween Treats.
Red Velvet Cupcakes, Pumpkin spice cupcakes, topped with cream cheese frosting
And Halloween toppings!
Simply
WICKED

Red Velvet Cake, frosted with Cream Cheese Marshmallow, with marshmallow spiderweb wrapped around it, and a drizzling of Blood Red Gel Icing!

Again, quick wreath, Spray it black, wrap some tulle or anything old around it.
Glue on some dollar store bought Skeletons and ribbon.
The skull and crossbones I already had.

Witchy Profile!
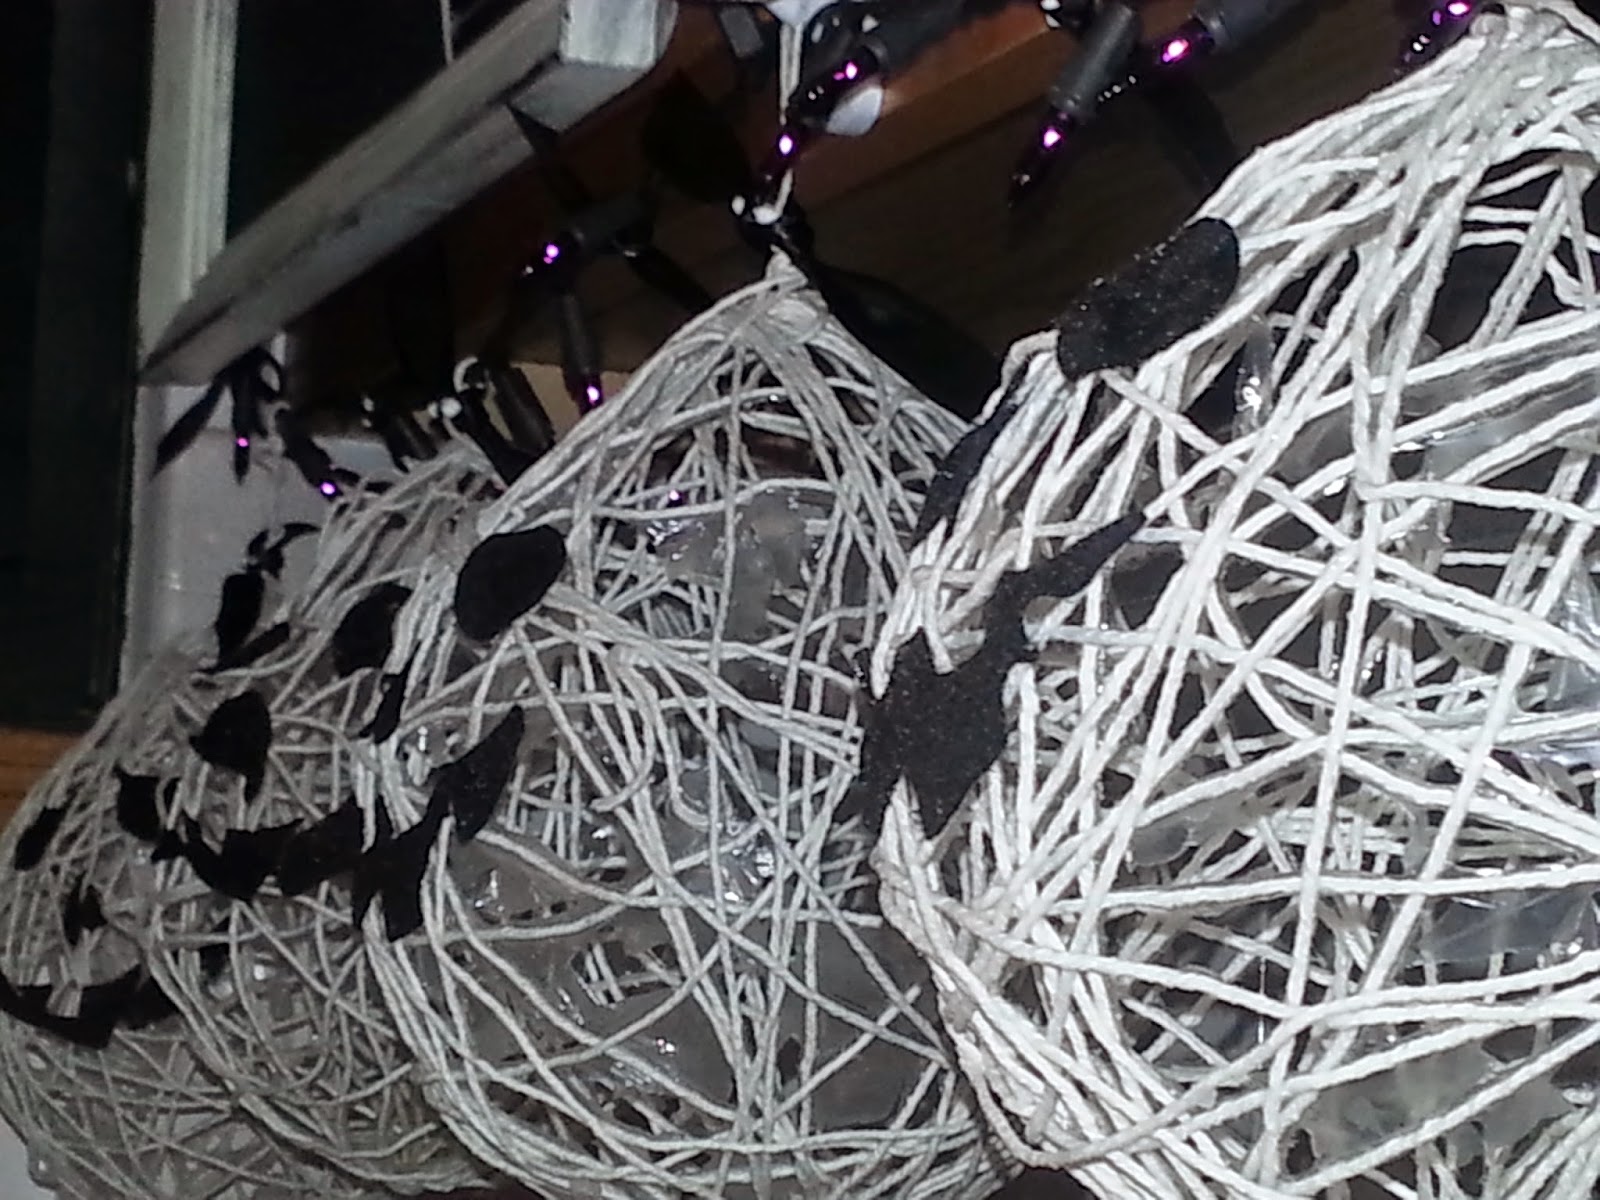
Jack O Lanterns!

My chalk art!


.jpg)


.jpeg)