
This year Seren turned 6 and Carys turned 4 and the theme for their joint party
Princess - Pink Princess.
And let me say I think I went overboard with the pink. Talk about Pink explosion!

I used plastic tablecloths from the dollar store and hung them over the windows, made banners and lots of balloons.
Although, it looked fabulous even I say so myself :)


See how I made the Tutu Cupcake Stand HERE


Table settings
Fit for a Princess or two or three or four :)

I made cupcakes for the girls.

Lots of yummy Sugary treats

Pink Princess Popcorn

Princess Pretzel Wands

More Princess paper wrappers


What it looked like before the Little Princess arrived!

PARTY TIME.
Musical Statues

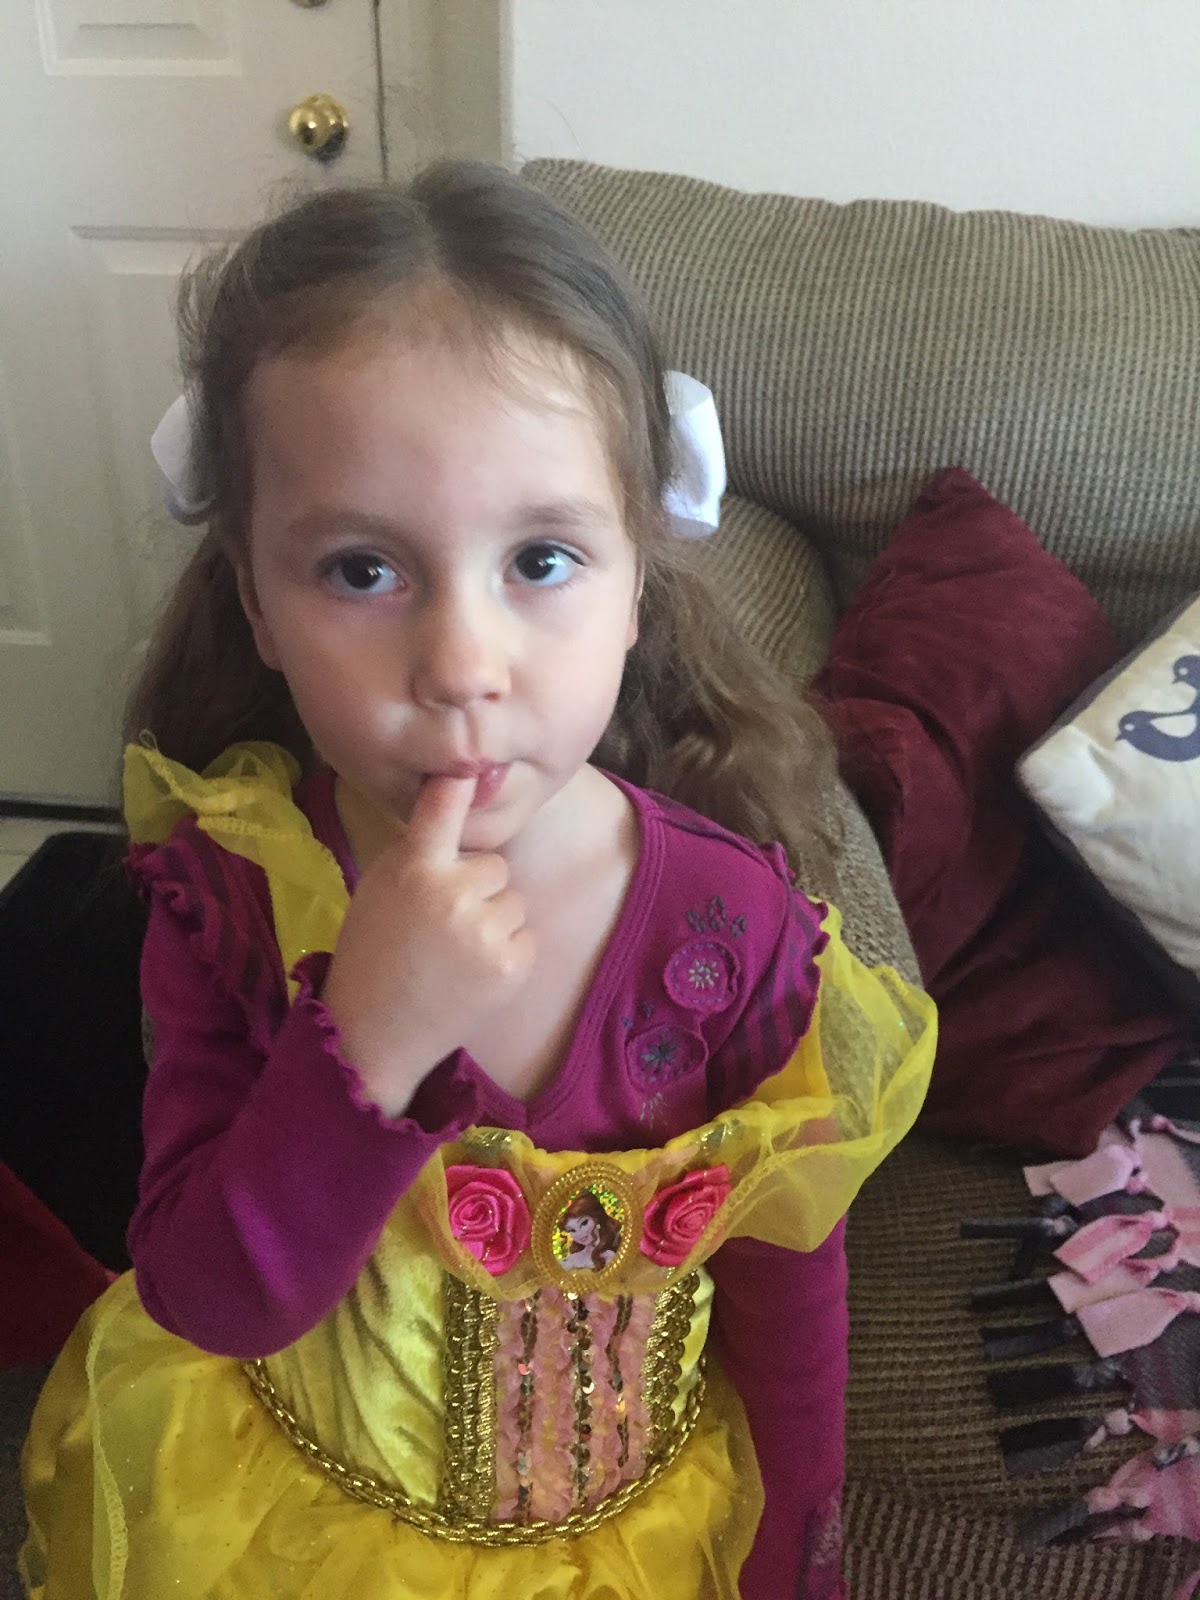
Funny Face Time
This is my granddaughter, Paisley

Seren
Carys

Princess Photo Booth Time


Pass The Parcel


Happy Birthday to CARYS

Happy Birthday To SEREN

Here are all the Little Princess's in the Princess Photo Booth.
Click HERE to see how I made it.


.jpg)


.jpeg)